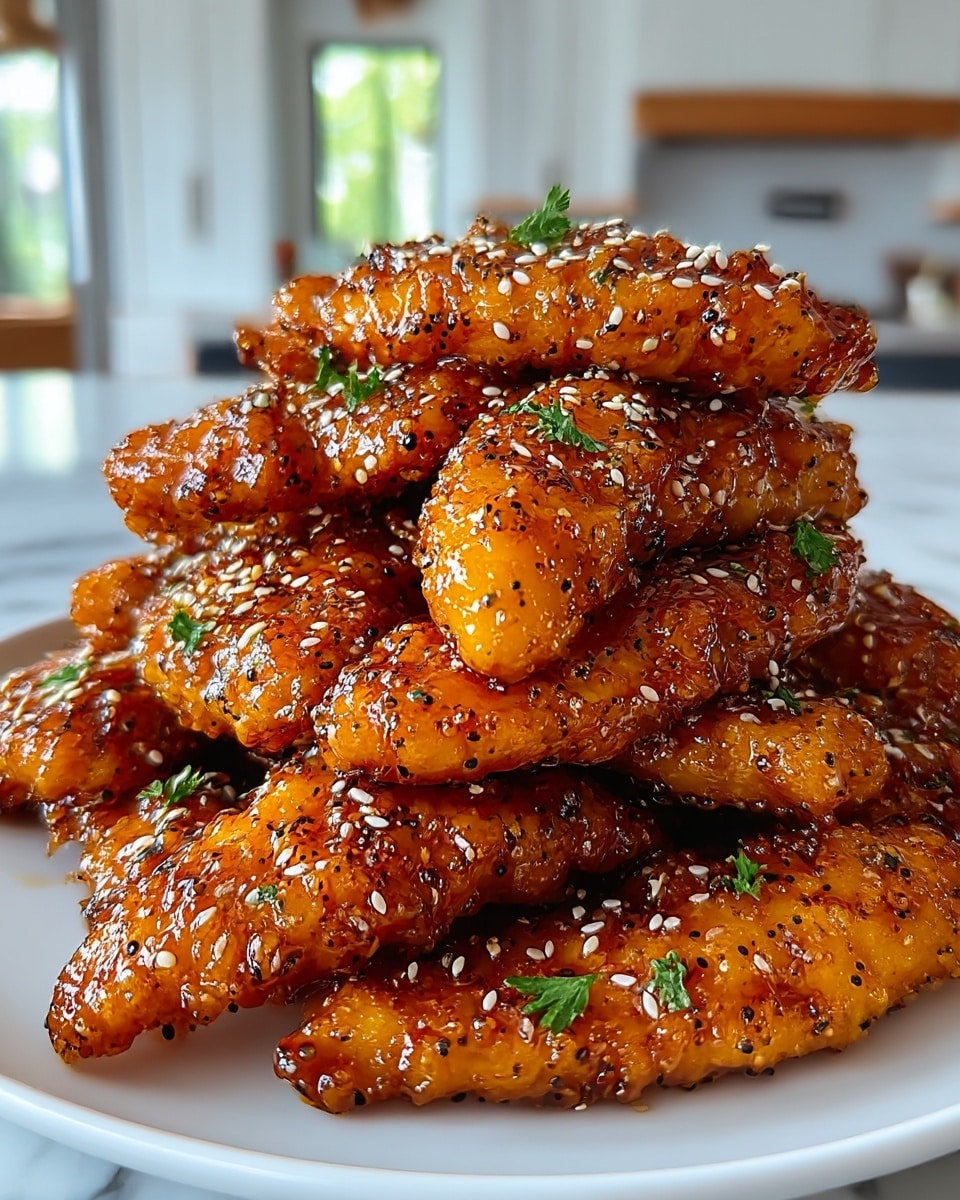
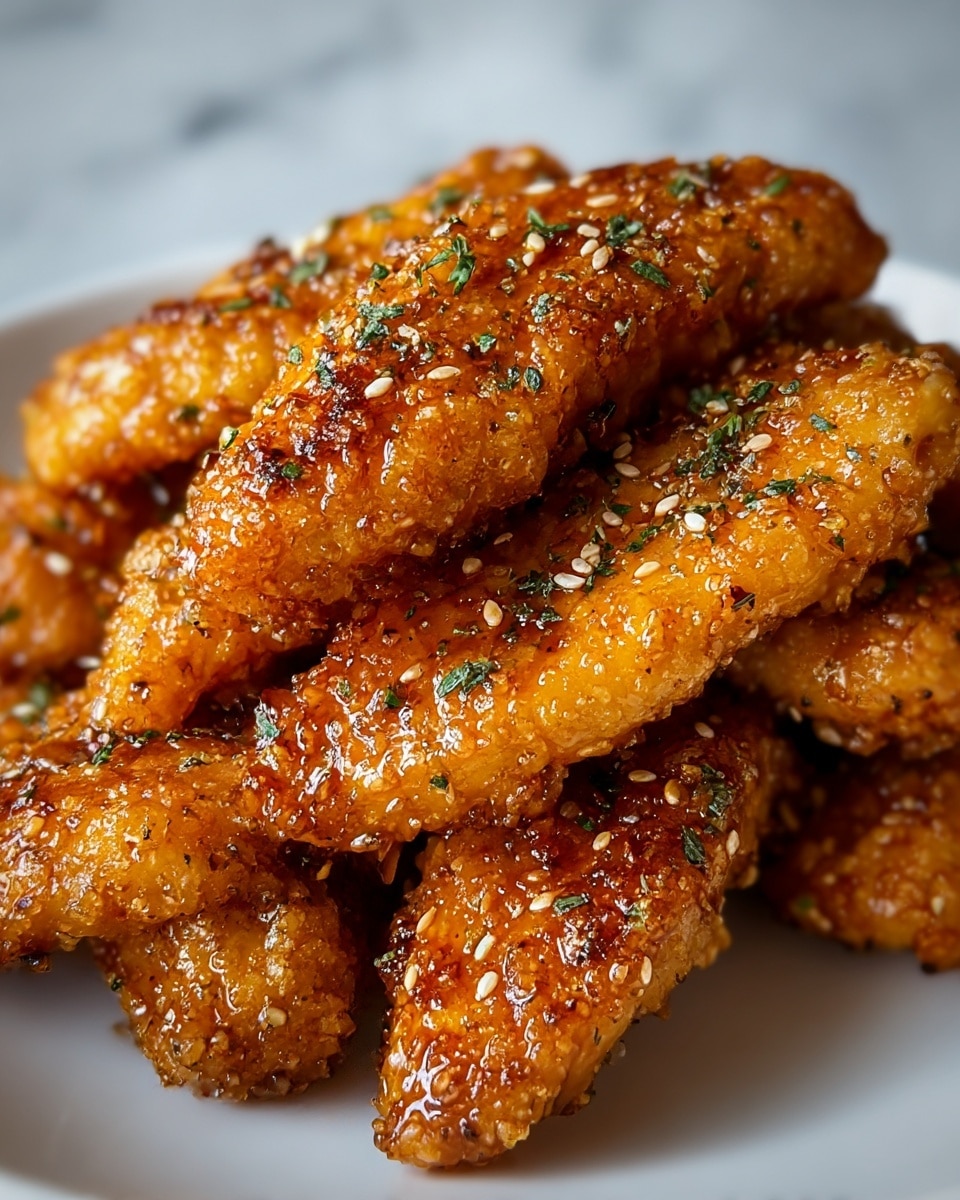
Air Fryer Honey Butter Garlic Chicken Tenders Recipe
Introduction
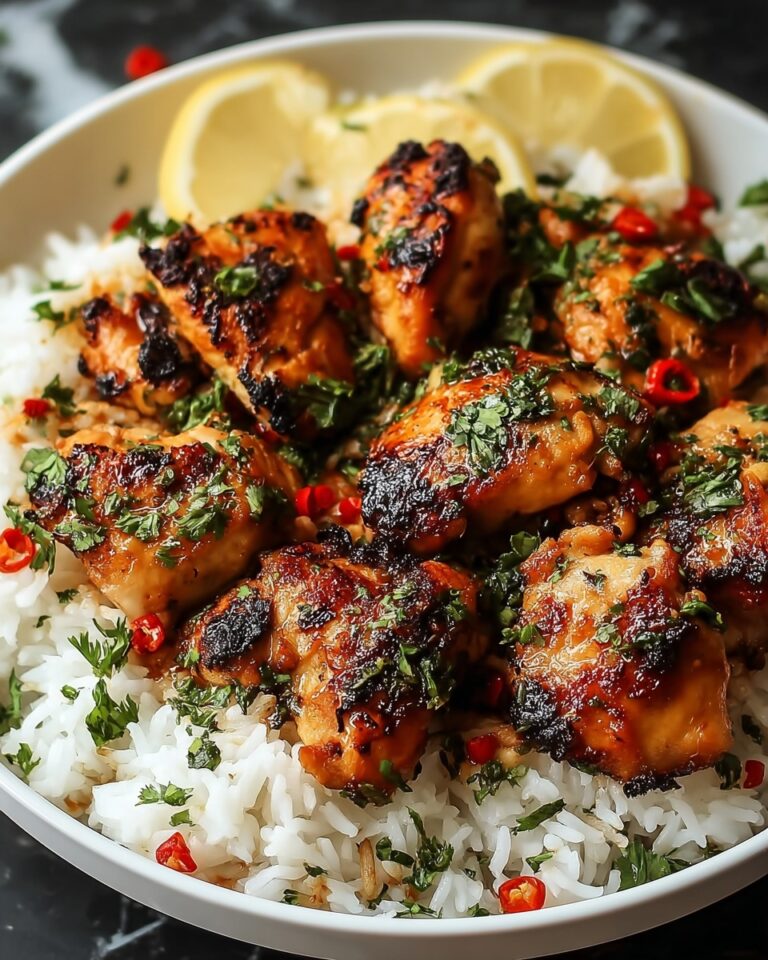
These Air Fryer Honey Butter Garlic Chicken Tenders are a delicious blend of sweet and savory flavors with a crispy coating. Perfectly cooked in the air fryer, they’re quick to make and sure to be a family favorite.
Ingredients
- 1 lb chicken tenders
- ¼ cup honey
- 2 tbsp unsalted butter, melted
- 3 cloves garlic, minced
- 1 tsp paprika
- 1 tsp salt
- ½ tsp black pepper
- 1 cup breadcrumbs (panko or regular)
- Cooking spray
Instructions
- Step 1: In a bowl, mix together honey, melted butter, minced garlic, paprika, salt, and black pepper until well combined.
- Step 2: Add chicken tenders to the bowl and coat them evenly with the honey garlic mixture.
- Step 3: In a separate plate, spread the breadcrumbs.
- Step 4: Dredge each chicken tender in the breadcrumbs, ensuring they are fully coated.
- Step 5: Preheat your air fryer to 380°F (193°C) and spray the basket with cooking spray.
- Step 6: Place the breaded chicken tenders in the air fryer basket in a single layer, making sure they do not overlap.
- Step 7: Air fry for 10-12 minutes, flipping halfway through, until chicken is cooked through and golden brown.
- Step 8: Remove from the air fryer and let rest for a few minutes before serving.
Tips & Variations
- Use panko breadcrumbs for a crispier texture.
- For extra flavor, add a pinch of cayenne pepper to the honey butter mixture for a mild kick.
- Make sure the chicken tenders are similar in size for even cooking.
- Serve with a side of ranch or your favorite dipping sauce.
Storage
Store leftover chicken tenders in an airtight container in the refrigerator for up to 3 days. To reheat, place them in the air fryer at 350°F (175°C) for 3-5 minutes to restore their crispiness.
How to Serve
Serve this delicious recipe with your favorite sides.
FAQs
Can I use frozen chicken tenders for this recipe?
It’s best to use fresh or fully thawed chicken tenders for even cooking. If using frozen, thaw completely and pat dry before starting the recipe.
Can I bake these instead of air frying?
Yes, you can bake the chicken tenders at 400°F (200°C) for about 15-20 minutes, flipping halfway through, until golden and cooked through.
PrintAir Fryer Honey Butter Garlic Chicken Tenders Recipe

Crispy and flavorful Air Fryer Honey Butter Garlic Chicken Tenders coated with a sweet and savory honey garlic glaze, then air fried to golden perfection. This easy recipe is perfect for a quick weeknight dinner or a tasty appetizer everyone will love.
- Prep Time: 10 minutes
- Cook Time: 12 minutes
- Total Time: 22 minutes
- Yield: 4 servings 1x
- Category: Main Course
- Method: Air Frying
- Cuisine: American
Ingredients
Chicken
- 1 lb chicken tenders
Honey Butter Garlic Sauce
- ¼ cup honey
- 2 tbsp unsalted butter, melted
- 3 cloves garlic, minced
- 1 tsp paprika
- 1 tsp salt
- ½ tsp black pepper
Coating
- 1 cup breadcrumbs (panko or regular)
- Cooking spray
Instructions
- Prepare the Sauce: In a bowl, mix together honey, melted butter, minced garlic, paprika, salt, and black pepper until well combined to create a flavorful honey butter garlic mixture.
- Coat the Chicken: Add the chicken tenders to the bowl and toss them thoroughly until each piece is evenly coated with the honey garlic mixture, ensuring maximum flavor absorption.
- Prepare Breadcrumbs: Spread the breadcrumbs evenly on a separate plate, ready for dredging the coated chicken tenders.
- Dredge Chicken: Take each honey-coated chicken tender and dredge it in the breadcrumbs, pressing gently to adhere a full coating on every tenders’ surface for crispiness.
- Preheat Air Fryer: Preheat your air fryer to 380°F (193°C) and lightly spray the air fryer basket with cooking spray to prevent sticking and promote even crisping.
- Arrange and Cook: Place the breaded chicken tenders in the air fryer basket in a single layer without overlapping. Air fry for 10-12 minutes, flipping halfway through the cooking time, until the chicken is cooked through, golden brown, and crispy on the outside.
- Rest and Serve: Remove the chicken tenders from the air fryer and allow them to rest for a few minutes to lock in juices before serving hot and enjoying.
Notes
- For extra crispiness, use panko breadcrumbs instead of regular breadcrumbs.
- You can adjust the amount of honey based on your preferred level of sweetness.
- Make sure not to overcrowd the air fryer basket to ensure even cooking and crispiness.
- Leftovers can be stored in the refrigerator in an airtight container for up to 3 days and reheated in the air fryer.
- Optional: serve with ranch dressing or your favorite dipping sauce for added flavor.
Keywords: Air Fryer Chicken Tenders, Honey Butter Garlic Chicken, Crispy Chicken Tenders, Easy Air Fryer Recipes, Chicken Finger Recipe