Easy Boston Cream Pie Cookie Bites Recipe
Introduction
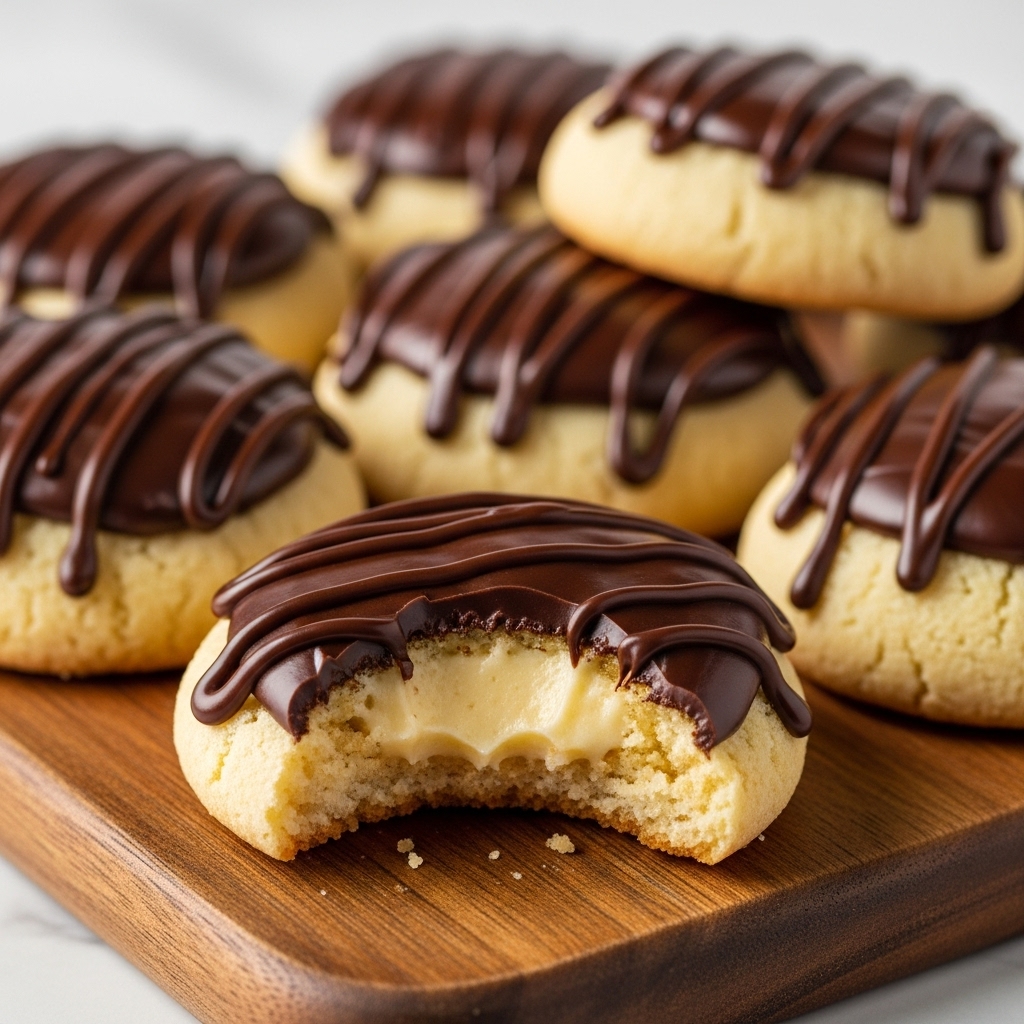
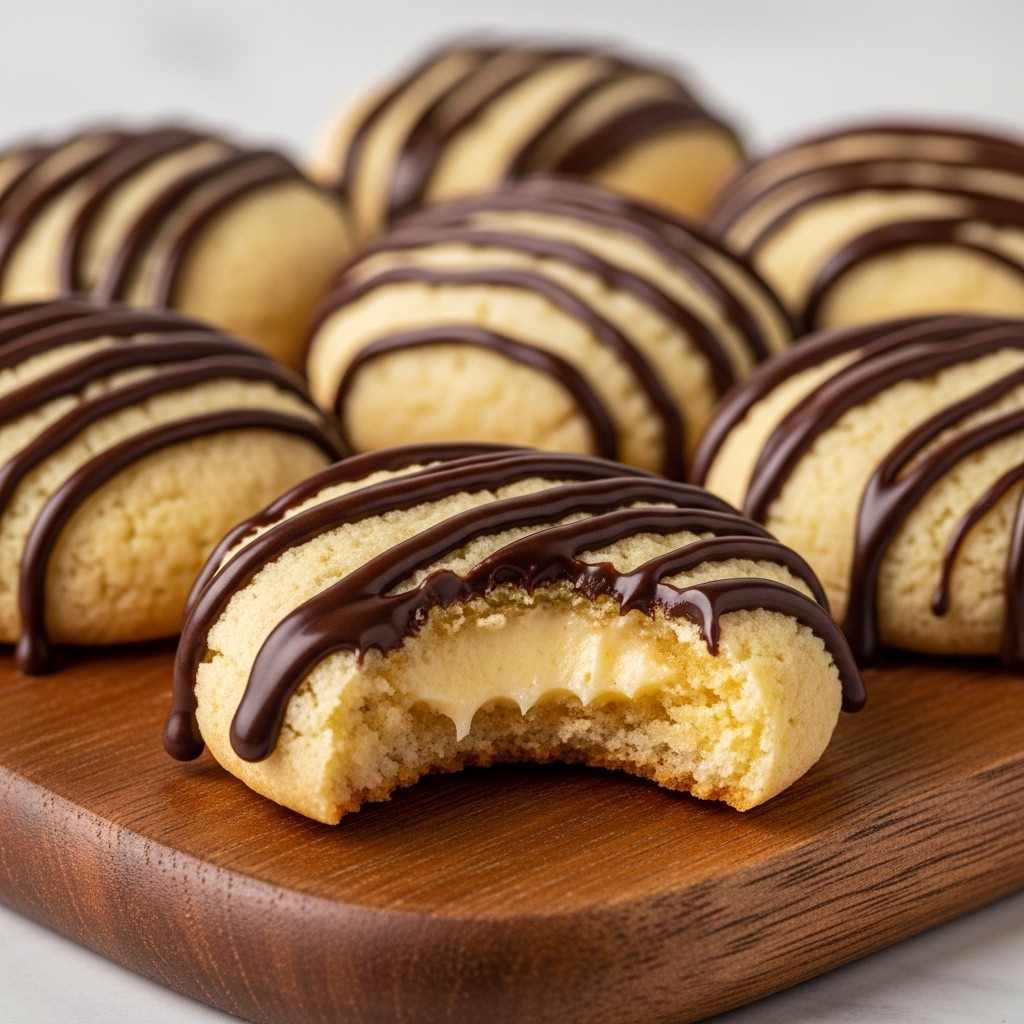
These Easy Boston Cream Pie Cookie Bites bring the classic dessert into a fun, bite-sized treat. With soft cookies filled with creamy vanilla custard and topped with rich chocolate, they’re perfect for sharing or indulging yourself. Simple to make, they’re a delightful twist on a beloved favorite.
Ingredients
- 1 cup all-purpose flour
- 1/2 teaspoon baking powder
- 1/4 teaspoon baking soda
- 1/4 teaspoon salt
- 1/2 cup unsalted butter, softened
- 1/2 cup granulated sugar
- 1 large egg
- 1 teaspoon vanilla extract
- 1/2 cup vanilla custard (store-bought or homemade)
- 1/2 cup semi-sweet chocolate chips
- 1 tablespoon vegetable oil
Instructions
- Step 1: Preheat your oven to 350°F (175°C) and line a baking sheet with parchment paper.
- Step 2: In a medium bowl, whisk together the flour, baking powder, baking soda, and salt. Set aside.
- Step 3: In a large mixing bowl, cream together the softened butter and granulated sugar until light and fluffy, about 2-3 minutes.
- Step 4: Beat in the egg and vanilla extract until well combined.
- Step 5: Gradually add the dry ingredients to the wet mixture, mixing just until combined.
- Step 6: Using a small cookie scoop or a tablespoon, drop dough onto the prepared baking sheet, spacing them about 2 inches apart.
- Step 7: Bake for 10-12 minutes, or until the edges are lightly golden. Remove from the oven and allow to cool completely on a wire rack.
- Step 8: Once cooled, make an indentation in the center of each cookie using your thumb or the back of a measuring spoon.
- Step 9: Fill each indentation with about a teaspoon of vanilla custard.
- Step 10: In a microwave-safe bowl, combine the chocolate chips and vegetable oil. Heat in 30-second increments, stirring in between, until melted and smooth.
- Step 11: Drizzle the melted chocolate over the filled cookies, or dip them for a full coating.
- Step 12: Allow the chocolate to set for about 10-15 minutes before serving.
Tips & Variations
- For a richer custard flavor, make your own vanilla custard at home using fresh eggs and vanilla beans.
- Substitute semi-sweet chocolate chips with dark or milk chocolate depending on your preference.
- If you prefer a thicker chocolate coating, let the chocolate cool slightly before dipping the cookies.
- Make mini cookie bites by using a smaller scoop for a perfect party appetizer.
Storage
Store the cookie bites in an airtight container in the refrigerator for up to 3 days to keep the custard fresh. Let them sit at room temperature for 10 minutes before serving. Avoid freezing as the custard filling may separate upon thawing.
How to Serve
Serve this delicious recipe with your favorite sides.
FAQs
Can I use homemade custard for the filling?
Yes, homemade custard works wonderfully and can add a fresh, rich flavor. Just ensure it’s fully cooled before filling the cookies.
How do I know when the cookies are done baking?
Look for lightly golden edges while the centers remain soft. They will firm up as they cool, so avoid overbaking to keep them tender.
PrintEasy Boston Cream Pie Cookie Bites Recipe

These Easy Boston Cream Pie Cookie Bites capture the classic flavors of the beloved Boston cream pie dessert in a bite-sized cookie form. Soft, buttery cookies are filled with smooth vanilla custard and topped with a rich chocolate glaze, making them a delightful treat perfect for parties or an everyday indulgence.
- Prep Time: 15 minutes
- Cook Time: 12 minutes
- Total Time: 45 minutes
- Yield: 24 cookie bites 1x
- Category: Dessert
- Method: Baking
- Cuisine: American
Ingredients
Dry Ingredients
- 1 cup all-purpose flour
- 1/2 teaspoon baking powder
- 1/4 teaspoon baking soda
- 1/4 teaspoon salt
Wet Ingredients
- 1/2 cup unsalted butter, softened
- 1/2 cup granulated sugar
- 1 large egg
- 1 teaspoon vanilla extract
Filling and Topping
- 1/2 cup vanilla custard (store-bought or homemade)
- 1/2 cup semi-sweet chocolate chips
- 1 tablespoon vegetable oil
Instructions
- Preheat and Prepare: Preheat your oven to 350°F (175°C) and line a baking sheet with parchment paper to prevent sticking and ensure even baking.
- Mix Dry Ingredients: In a medium bowl, whisk together the all-purpose flour, baking powder, baking soda, and salt. Set this mixture aside for later incorporation.
- Cream Butter and Sugar: In a large mixing bowl, cream the softened unsalted butter and granulated sugar together until light and fluffy, which usually takes about 2 to 3 minutes. This step helps create a tender cookie texture.
- Add Egg and Vanilla: Beat in the large egg and vanilla extract until well combined, ensuring the mixture is smooth and homogenous.
- Combine Mixtures: Gradually add the dry ingredients to the wet mixture. Mix gently just until combined to avoid overmixing, which can toughen the cookies.
- Shape Cookies: Using a small cookie scoop or tablespoon, drop dollops of dough onto the prepared baking sheet, spacing them about 2 inches apart to allow for slight spreading as they bake.
- Bake: Bake in the preheated oven for 10-12 minutes, or until the edges of the cookies turn a light golden color. Remove the baking sheet and cool cookies completely on a wire rack before proceeding.
- Indent Cookies: Once cooled, make a small indentation in the center of each cookie using your thumb or the back of a measuring spoon to create space for the filling.
- Fill with Custard: Spoon about a teaspoon of vanilla custard into each cookie’s indentation, filling them generously but without overflowing.
- Melt Chocolate: In a microwave-safe bowl, combine the semi-sweet chocolate chips with vegetable oil. Heat in 30-second increments, stirring between each interval until the chocolate is melted and smooth.
- Top with Chocolate: Drizzle the melted chocolate over the custard-filled cookies or dip the cookie tops if you prefer a full coating.
- Set Chocolate: Let the chocolate set at room temperature for 10 to 15 minutes until firm, then serve and enjoy your Boston Cream Pie Cookie Bites.
Notes
- For best results, ensure butter is fully softened for easy creaming with sugar.
- Use store-bought custard for convenience or homemade vanilla pastry cream for a fresher taste.
- If you prefer a glossy chocolate finish, temper the chocolate before drizzling or dipping.
- Store cookies in an airtight container at room temperature for up to 3 days or refrigerate if custard filling is homemade and perishable.
- Use parchment paper to prevent cookies from sticking and for easier cleanup.
- You can substitute semi-sweet chocolate chips with dark or milk chocolate depending on your flavor preference.
Keywords: Boston cream pie, cookies, dessert bites, vanilla custard cookies, chocolate topped cookies, easy cookie recipe, party treats