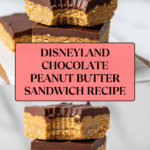
Chocolate Peanut Butter Sandwiches from Disneyland Recipe
Introduction
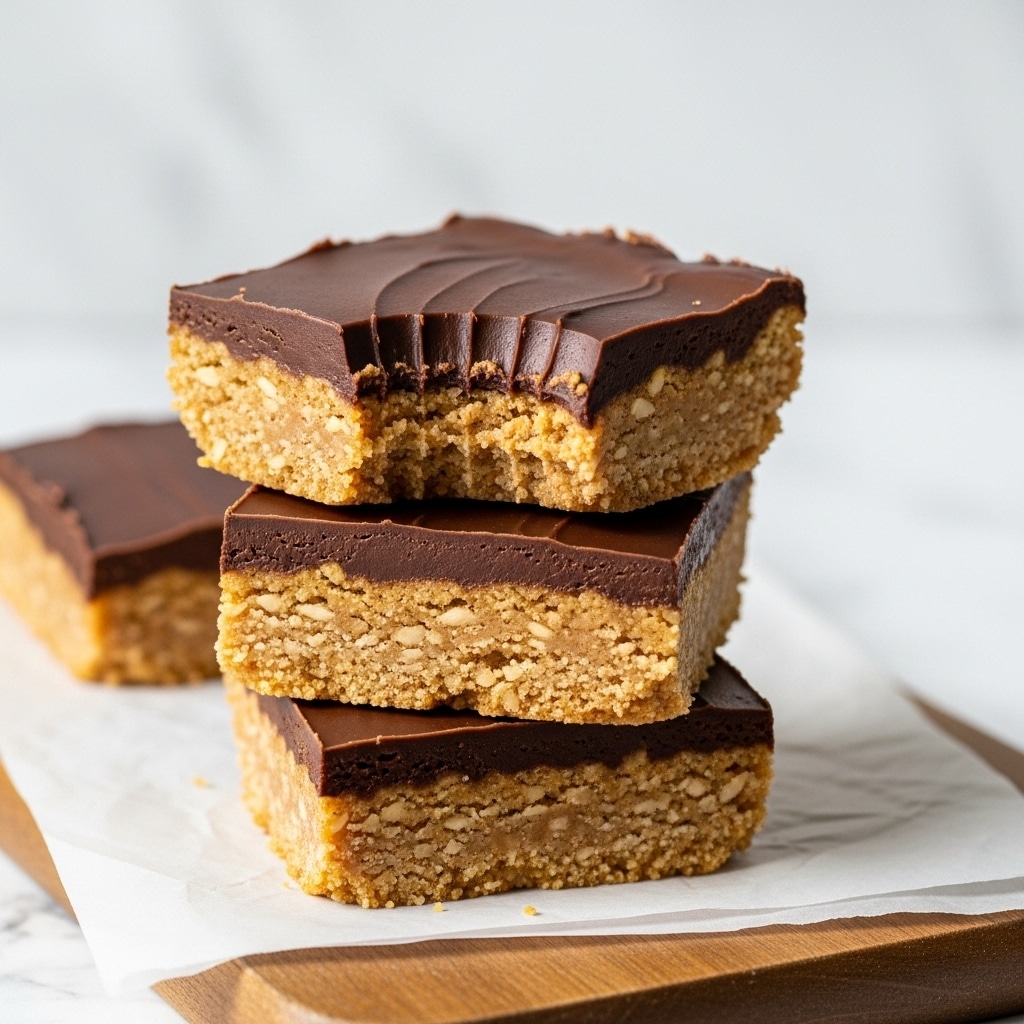
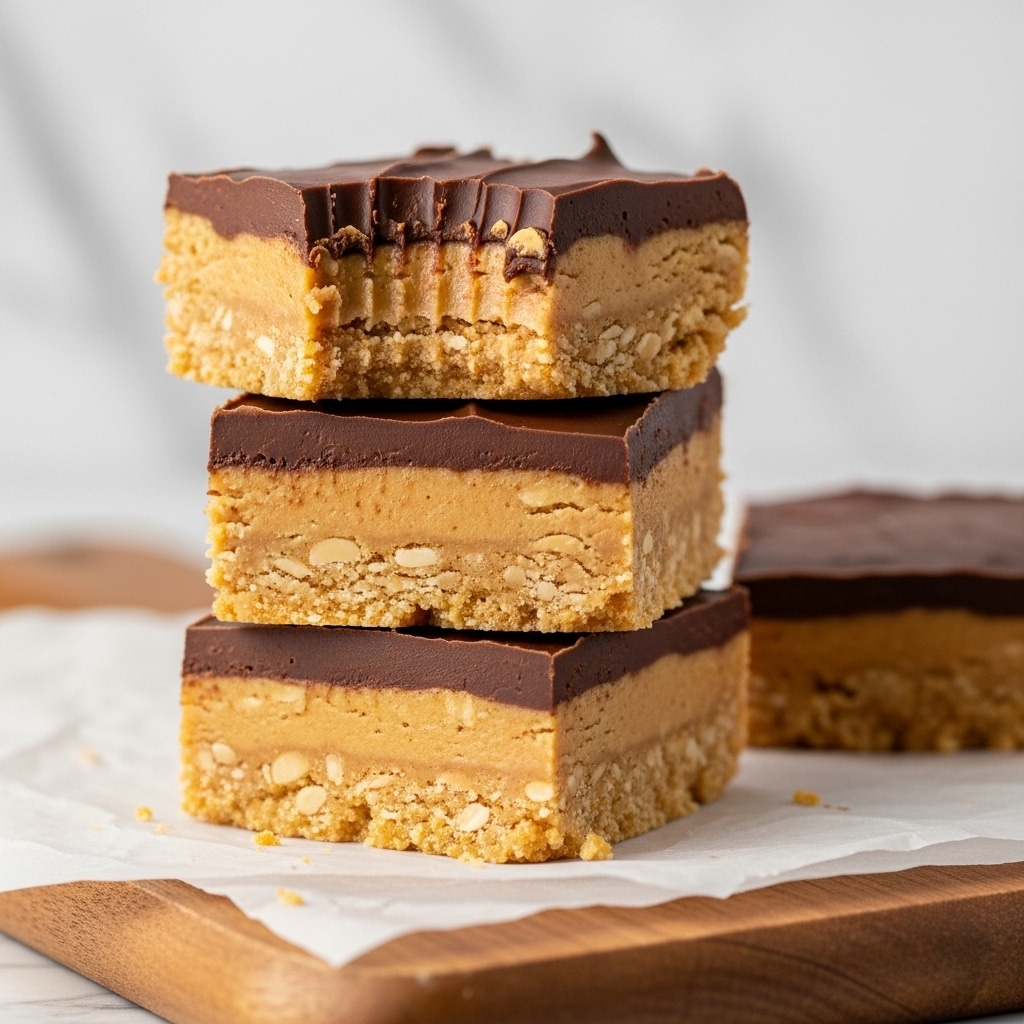
Chocolate Peanut Butter Sandwiches from Disneyland are a delightful treat that combines rich milk chocolate, crunchy graham crackers, and creamy peanut butter. This nostalgic dessert is perfect for anyone craving a sweet and satisfying snack reminiscent of a day at the park.
Ingredients
- 3 cups good quality chopped milk chocolate
- 4 tablespoons shortening
- 12 halved graham crackers
- 2 cups creamy peanut butter
Instructions
- Step 1: Melt the milk chocolate and shortening together over a double boiler. Bring water to a boil in a small saucepan, then reduce heat to low. Place a heatproof bowl over the saucepan and add the chopped chocolate and shortening, stirring until completely melted and smooth.
- Step 2: Dip each graham cracker half into the melted chocolate, coating it evenly. Place the dipped crackers on wax or parchment paper and freeze for a few minutes to set the chocolate.
- Step 3: Spread about 2 tablespoons (or a cookie scoopful) of creamy peanut butter over the chocolate-coated side of each graham cracker. Return them to the freezer for 10 minutes to firm up the peanut butter layer.
- Step 4: While the peanut butter chills, remove the chocolate from heat and stir to cool and thicken slightly. Carefully spoon melted chocolate over the peanut butter on each cracker, covering the tops and sides. Use a small spoon and a plastic knife to smooth and clean the edges for a polished look.
- Step 5: Let the sandwiches set by placing them back in the freezer for another 10 minutes.
- Step 6: To finish, drizzle additional melted chocolate over the top in thin lines using a spoon. If the chocolate is too thick, gently warm it again over the double boiler to soften.
- Step 7: Keep the sandwiches chilled to prevent melting, as they soften quickly when handled. Enjoy your homemade Disneyland-style chocolate peanut butter sandwiches!
Tips & Variations
- Use high-quality milk chocolate for a richer flavor and smoother texture.
- If you prefer, try crunchy peanut butter instead of creamy for added texture.
- For a different twist, sprinkle a pinch of sea salt on top after drizzling the final chocolate layer.
- Work patiently when coating the peanut butter with chocolate to get a neat finish similar to the originals.
Storage
Store the chocolate peanut butter sandwiches in an airtight container in the refrigerator to keep them firm. They will keep well for up to one week. Before serving, you can let them sit at room temperature for a few minutes if you prefer a softer bite. Avoid leaving them out too long, as the chocolate melts easily.
How to Serve
Serve this delicious recipe with your favorite sides.
FAQs
Can I use dark chocolate instead of milk chocolate?
Yes, dark chocolate can be used for a less sweet and more intense chocolate flavor. Adjust the amount of shortening if needed to maintain a smooth melting consistency.
Is there a way to make these sandwiches nut-free?
To make a nut-free version, substitute the peanut butter with a seed butter like sunflower seed butter. Make sure all other ingredients and chocolate are also free from cross-contamination.
PrintChocolate Peanut Butter Sandwiches from Disneyland Recipe
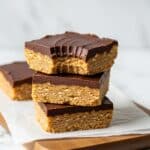
Recreate the iconic Disneyland Chocolate Peanut Butter Sandwiches with this delightful copycat recipe. Layers of creamy peanut butter sandwiched between graham crackers and dipped in rich, melted milk chocolate make for a nostalgic, indulgent treat that’s perfect for any chocolate and peanut butter lover.
- Prep Time: 20 minutes
- Cook Time: 15 minutes
- Total Time: 45 minutes
- Yield: 12 halved graham cracker sandwiches 1x
- Category: Dessert
- Method: Stovetop
- Cuisine: American
Ingredients
Chocolate Coating
- 3 cups good quality chopped milk chocolate
- 4 tablespoons shortening
Sandwich
- 12 halved graham crackers
- 2 cups creamy peanut butter
Instructions
- Melt Chocolate: Set up a double boiler by boiling water in a small saucepan and reducing the heat to low. Place a heatproof bowl over the saucepan (make sure it does not touch the water) and add the chopped milk chocolate and shortening. Stir continuously until the chocolate and shortening are completely melted and smooth.
- Dip Graham Crackers: Dip each halved graham cracker completely into the melted chocolate, then place them on wax or parchment paper to set. To speed up the process, place the dipped crackers in the freezer for a few minutes.
- Add Peanut Butter Layer: Spread about 2 tablespoons (or a cookie scoopful) of creamy peanut butter over the top of each chocolate-dipped graham cracker. Return them to the freezer for at least 10 minutes to allow the peanut butter to partially freeze and firm up.
- Prepare Chocolate for Coating Top: While the peanut butter sets, remove the melted chocolate from heat and stir it gently to cool slightly and thicken for easier coating.
- Coat Peanut Butter with Chocolate: Slowly and carefully spoon the slightly thickened melted chocolate over the tops and sides of the peanut butter layer on each cracker. Use a small spoon to work the chocolate evenly around edges, then use a plastic knife to smooth and clean the chocolate around edges for a neat finish.
- Set the Sandwiches: Place the coated sandwiches back in the freezer for another 10 minutes to let the chocolate harden completely.
- Decorative Drizzle: If the chocolate has become too thick, gently reheat it over the double boiler to loosen. Using a spoon, drizzle additional melted chocolate lines over the top of each sandwich for decoration, replicating the look of the Disneyland original.
- Final Chill: Keep the sandwiches chilled until ready to serve as they melt easily when touched. Store them in the refrigerator or freezer to maintain their shape and delicious texture.
Notes
- Use good quality milk chocolate for the best flavor and smooth coating.
- Shortening helps thin the chocolate for easy dipping and smoother coating.
- Freezing the sandwiches at various steps is crucial to get the chocolate to set properly and to handle the peanut butter layer without melting.
- Handle the sandwiches with care and keep them chilled to avoid melting.
- If you want a firmer texture, consider refrigerating instead of freezing but keep an eye on melting while serving.
Keywords: best disneyland food, best food at disneyland, chocolate, chocolate peanut butter dessert, chocolate peanut butter sandwich, dessert, disney eats, disney food, Disneyland, disneyland copycat recipe, disneyland recipes, peanut butter, peanut butter desserts