Old-Fashioned Butter Mints Recipe
Introduction
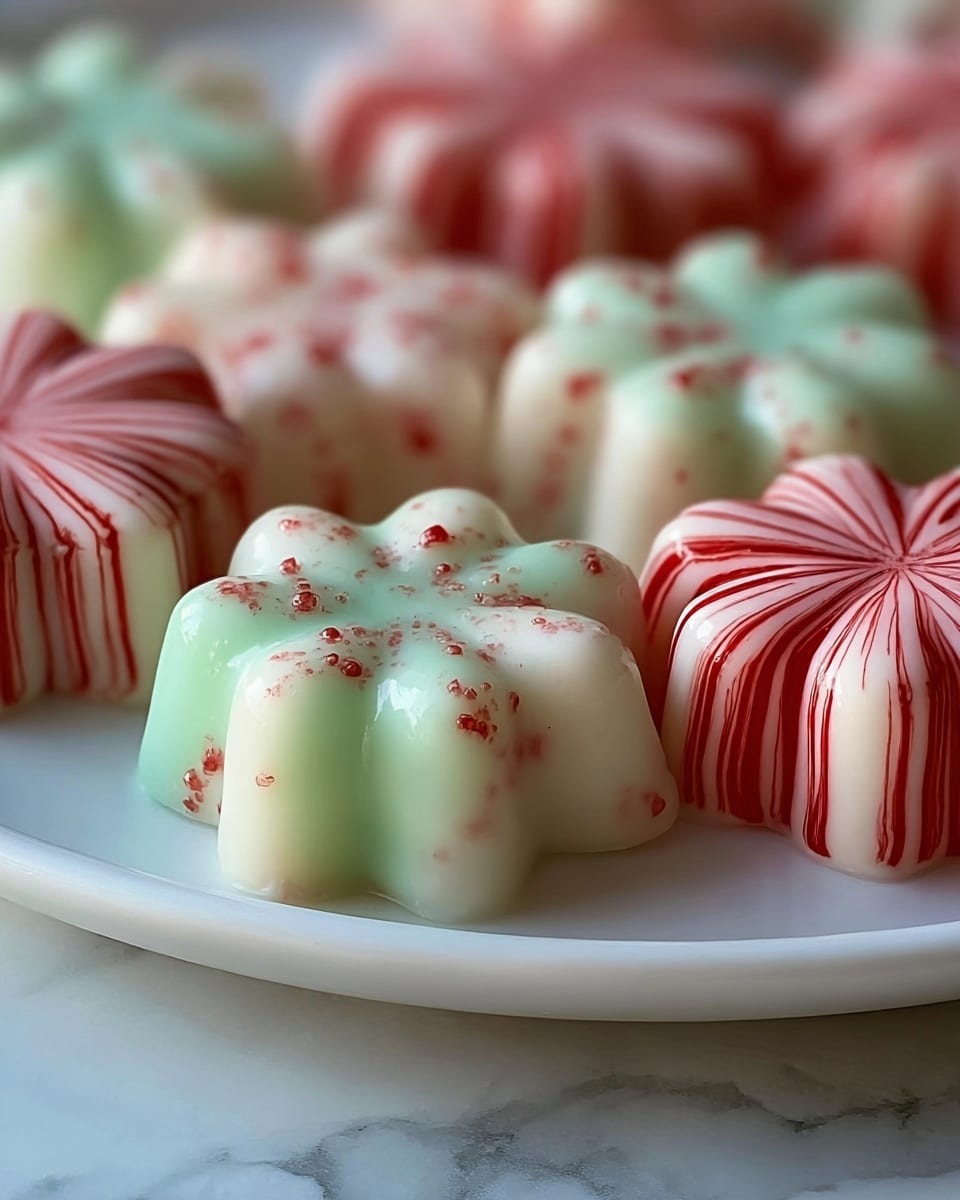
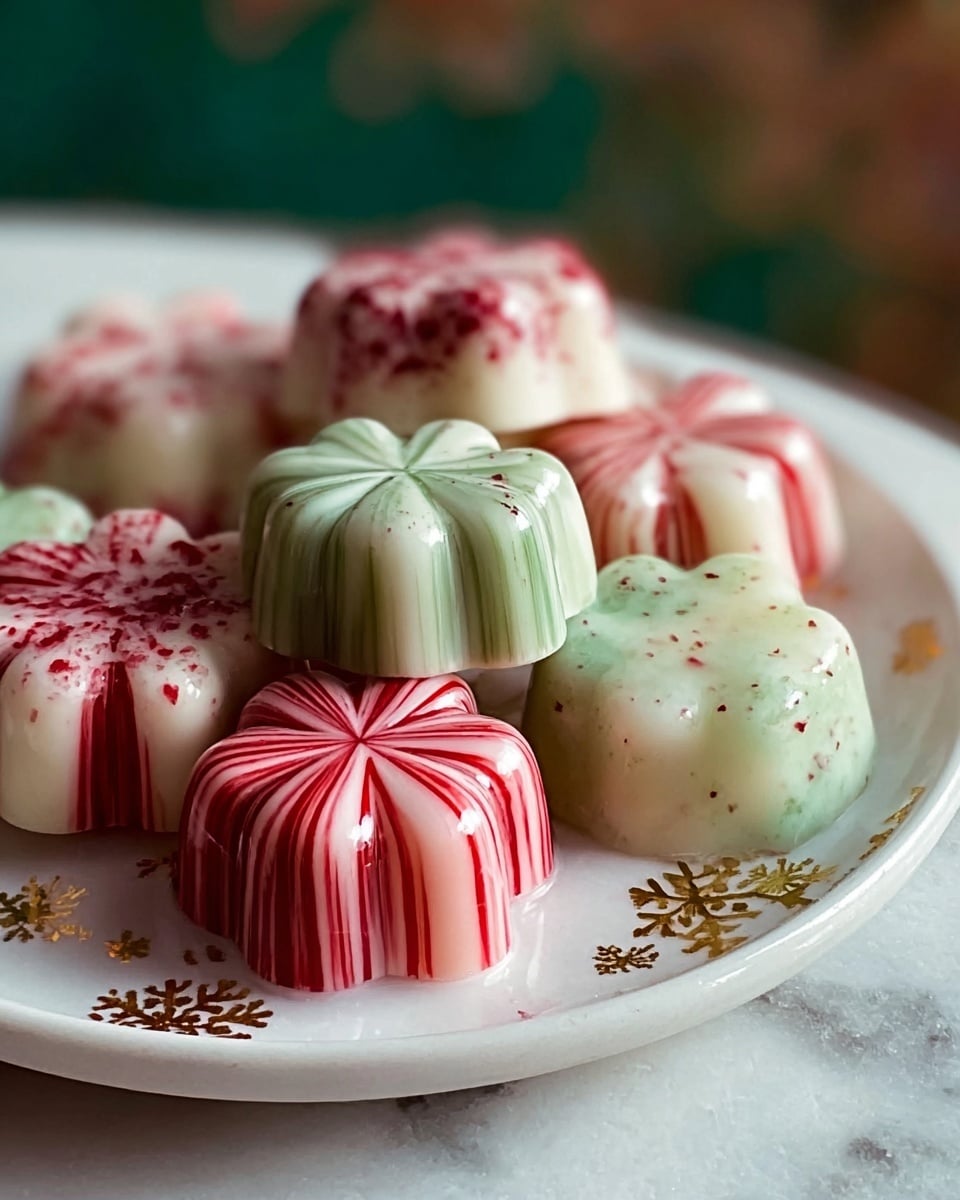
Old-Fashioned Butter Mints are a nostalgic treat that melt in your mouth with a delicate peppermint flavor. These soft, buttery candies are easy to make and perfect for holidays, weddings, or simple sweet gifts.
Ingredients
- 1/2 cup unsalted butter, softened
- 4 cups powdered sugar
- 1 tablespoon heavy cream or milk
- 1/2 teaspoon peppermint extract
- 1 pinch salt
- Gel food coloring (optional)
Instructions
- Step 1: Beat the softened butter in a large mixing bowl until smooth and creamy.
- Step 2: Add the peppermint extract, salt, and heavy cream. Mix well to combine.
- Step 3: Gradually mix in the powdered sugar until a soft dough forms.
- Step 4: If using gel food coloring, divide the dough into portions and knead in the coloring until evenly tinted.
- Step 5: On a surface dusted with powdered sugar, roll the dough into thin ropes.
- Step 6: Cut the ropes into bite-sized pieces using a scraper or knife.
- Step 7: Arrange the mints on parchment paper and allow them to dry at room temperature for 8 hours or overnight to set properly.
Tips & Variations
- Always use softened butter for smooth blending and a better texture.
- Add gel food coloring sparingly to create delicate pastel shades without affecting flavor.
- Don’t rush the drying process; proper drying helps the mints achieve their signature melt-in-your-mouth texture.
- For a different flavor twist, try substituting peppermint extract with vanilla or almond extract.
Storage
Store the butter mints in an airtight container at room temperature. They should keep well for up to two weeks. Avoid refrigeration as it can harden the mints. If needed, warm them slightly before serving to restore their soft texture.
How to Serve
Serve this delicious recipe with your favorite sides.
FAQs
Can I use salted butter instead of unsalted?
It’s best to use unsalted butter so you can control the salt content in the recipe. Using salted butter might make the mints taste too salty.
How long do the butter mints need to dry?
The mints should dry for at least 8 hours or preferably overnight at room temperature. This ensures they develop the right texture and don’t stick together.
PrintOld-Fashioned Butter Mints Recipe
Classic Old-Fashioned Butter Mints are a simple, nostalgic candy made from creamy butter, powdered sugar, and peppermint extract. These melt-in-your-mouth mints are perfect for holiday treats, weddings, or anytime you want a sweet, pastel-colored bite-sized candy. They require no baking and dry naturally at room temperature for a delicate texture and refreshing flavor.
- Prep Time: 15 minutes
- Cook Time: 0 minutes
- Total Time: 8 hours 15 minutes
- Yield: Approximately 60–70 mints 1x
- Category: Candy
- Method: No-Cook
- Cuisine: American
Ingredients
Butter Mixture
- 1/2 cup unsalted butter, softened
- 1 tablespoon heavy cream or milk
- 1/2 teaspoon peppermint extract
- 1 pinch salt
Dry Ingredients
- 4 cups powdered sugar
Optional
- Gel food coloring (optional)
Instructions
- Beat the Butter: In a large mixing bowl, beat the softened unsalted butter until it becomes smooth and creamy, ensuring the base is perfectly blended for the candy.
- Add Flavor and Cream: Mix in the peppermint extract, salt, and heavy cream or milk thoroughly to evenly distribute the flavor and moisture.
- Incorporate Powdered Sugar: Gradually add the powdered sugar while mixing until a soft dough forms that is pliable but not sticky.
- Add Color (Optional): If you want colored mints, divide the dough into portions and knead gel food coloring into each section until the desired pastel shade is achieved.
- Shape the Mints: On a surface dusted with powdered sugar, roll the dough into thin ropes approximately 1/2 inch thick to prepare for cutting.
- Cut into Pieces: Use a scraper or sharp knife to cut the ropes into bite-sized pieces, perfect for small, delicate candies.
- Dry the Mints: Arrange the cut mints on parchment paper and allow them to dry at room temperature for 8 hours or overnight to develop their firm, melt-in-your-mouth texture.
Notes
- Always soften your butter for smooth blending and an even texture.
- Add gel food coloring sparingly to achieve delicate pastel tones for a classic candy look.
- Don’t rush the drying process as it is essential for developing the signature texture of the mints.
Keywords: easy candy recipe, vintage butter mints, quick dessert, no-bake holiday treat, edible gifts, pastel candies, wedding mints, party favor candy