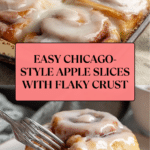
Easy Chicago-Style Apple Slices Recipe
Introduction
Chicago-Style Apple Slices offer a delicious twist on classic apple pie with a flaky double crust and a sweet, creamy glaze. This recipe is perfect for a comforting dessert that’s easy to slice and share.
Ingredients
- 4 cups plain flour
- 1 tbsp white sugar
- 1 tsp salt
- 1 1/4 cups unsalted butter, cold (2 1/2 sticks)
- 1/2 cup ice-cold water, plus extra if needed
- 4 cups prepared apple pie filling
- 1 cup confectioners’ sugar
- 2 tbsp unsalted butter, at room temperature
- 1 tsp vanilla extract
- 2 tbsp whole milk
Instructions
- Step 1: In a large bowl, combine the flour, white sugar, and salt. Grate the cold unsalted butter using a cheese grater in batches to prevent softening, tossing grated butter into the flour mixture. Alternatively, cube or slice the butter and cut it in using a pastry blender or two forks.
- Step 2: Create a well in the center and add 1/2 cup ice-cold water, mixing quickly with a fork. Add extra cold water, 2 tablespoons at a time, until the dough holds together without being sticky, with small pieces of butter visible for flakiness.
- Step 3: Turn dough onto a lightly floured surface and knead gently to combine. Divide in half and flatten each into a 1-inch thick rectangle. Wrap in plastic wrap and chill for at least 30 minutes.
- Step 4: Preheat oven to 400°F. Roll out one dough rectangle to fit a 9×13-inch jelly roll pan and press into the bottom.
- Step 5: Spread the apple pie filling evenly over the crust.
- Step 6: Roll out the second dough rectangle and place it over the filling. Pinch edges lightly and cut vents in the top crust to allow steam to escape.
- Step 7: Bake for about 40 minutes, rotating halfway through, until the crust is golden brown. Let cool completely on a wire rack.
- Step 8: Beat confectioners’ sugar, room temperature butter, vanilla extract, and whole milk until smooth and creamy. Spread glaze evenly over cooled top crust and allow to set.
- Step 9: Slice into squares and serve. Optional: Add a pinch of cinnamon or a squeeze of lemon juice to the glaze for extra flavor.
Tips & Variations
- Keep the butter cold and work quickly when mixing for a flaky crust.
- Chilling the dough helps relax gluten and creates tender layers.
- Add cinnamon or lemon zest to the glaze for a bright, spicy note.
- Use fresh apple pie filling or make your own for a homemade touch.
Storage
Store leftover apple slices covered at room temperature for up to 2 days or in the refrigerator for 4–5 days. Reheat gently in a low oven to maintain crust crispness. Glaze may soften when reheated.
How to Serve
Serve this delicious recipe with your favorite sides.
FAQs
Can I make the dough ahead of time?
Yes, you can prepare the dough a day in advance and keep it wrapped in the refrigerator. This actually improves the texture by allowing the gluten to relax fully.
What type of apples work best in this recipe?
Pre-made apple pie filling is recommended for ease, but if making your own, use firm, tart apples like Granny Smith or Honeycrisp for the best balance of flavor and texture.
PrintEasy Chicago-Style Apple Slices Recipe

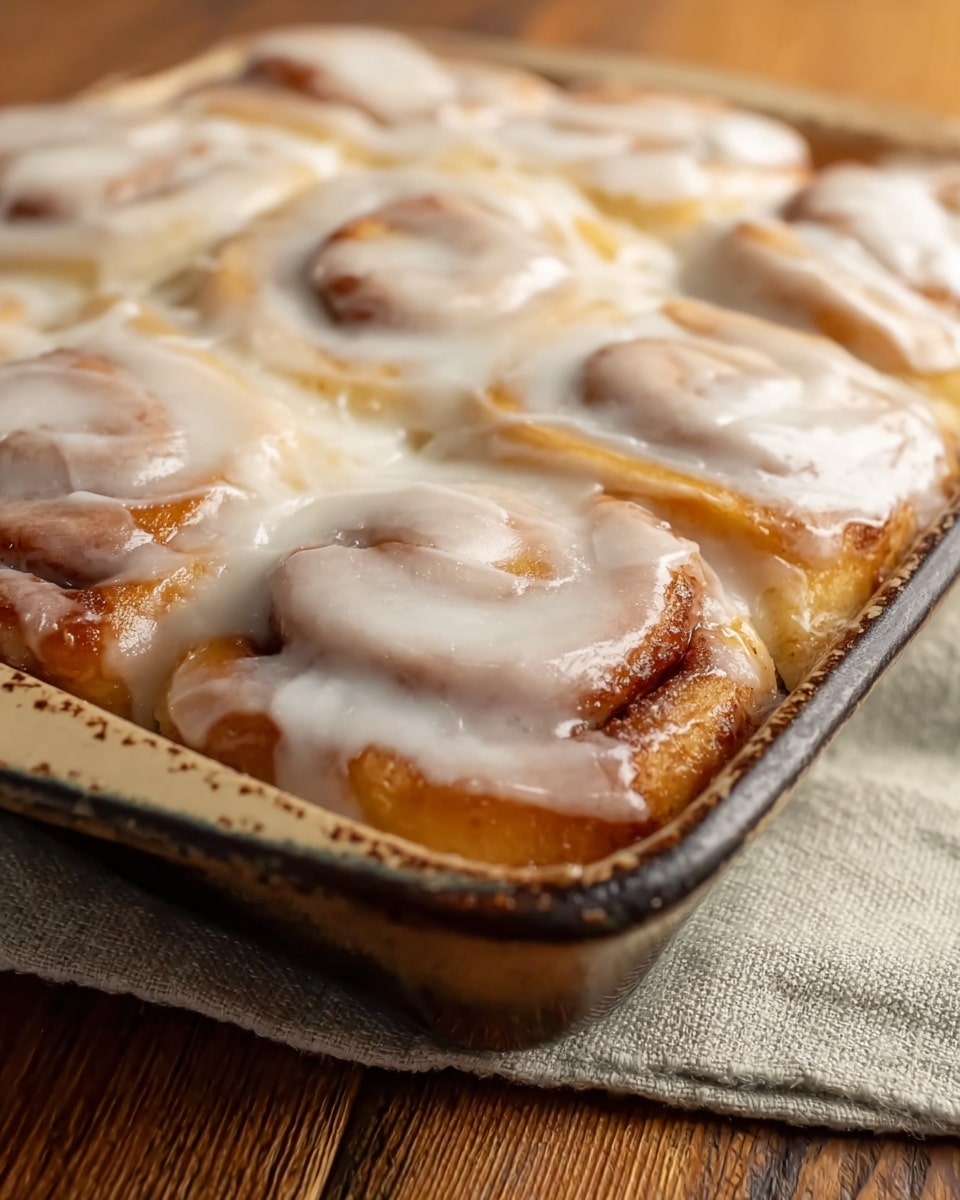
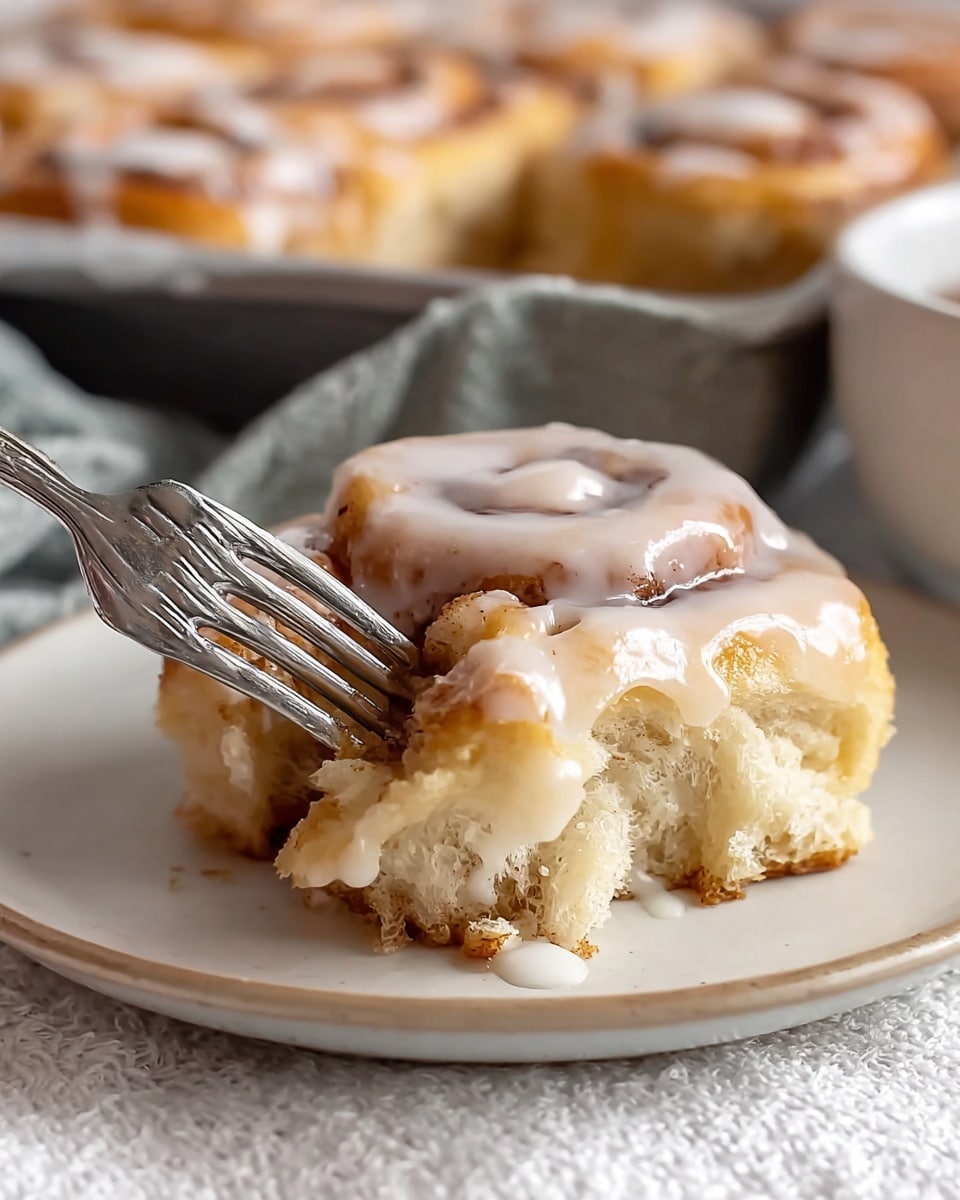
This Easy Chicago-Style Apple Slices recipe features a flaky homemade pastry crust filled with sweet apple pie filling and topped with a creamy vanilla glaze. Perfectly baked to golden brown perfection, this dessert offers a delightful combination of crisp pastry and tender, spiced apples, finished with a smooth sugar glaze that adds a luscious sweetness to each bite.
- Prep Time: 20 minutes
- Cook Time: 40 minutes
- Total Time: 1 hour
- Yield: 12 servings 1x
- Category: Dessert
- Method: Baking
- Cuisine: American
Ingredients
For the Pastry Crust:
- 4 cups plain flour
- 1 tbsp white sugar
- 1 tsp salt
- 1 1/4 cups unsalted butter, cold (2 1/2 sticks)
- 1/2 cup ice-cold water, plus extra if needed
For the Apple Filling:
- 4 cups prepared apple pie filling
For the Glaze:
- 1 cup confectioners’ sugar
- 2 tbsp unsalted butter, at room temperature
- 1 tsp vanilla extract
- 2 tbsp whole milk
Instructions
- Prepare the Pastry Dough:
In a large bowl, combine the flour, white sugar, and salt. Grate the cold unsalted butter using a cheese grater in batches to keep it cold, tossing the grated butter into the flour mixture as you go. Alternatively, cube or slice the butter and cut it into the flour using a pastry blender or forks. Make a well in the center and add 1/2 cup ice-cold water. Mix quickly with a fork, adding extra cold water 2 tablespoons at a time until the dough holds together without being sticky and still has visible small pieces of butter for flakiness.
- Knead and Chill the Dough:
Turn the dough onto a lightly floured surface and knead gently and quickly to bring it together. Divide the dough into two halves and flatten each into a 1-inch thick rectangle. Wrap each in plastic wrap and chill in the refrigerator for at least 30 minutes to relax gluten and maintain flaky layers.
- Preheat Oven and Roll Out Dough:
Preheat your oven to 400°F (204°C). Lightly flour your work surface and roll out one dough rectangle to fit a 9×13-inch jelly roll pan. Press the rolled dough evenly into the bottom of the pan.
- Add Apple Filling and Top Crust:
Spread the prepared apple pie filling evenly over the bottom crust. Roll out the second dough rectangle and place it on top of the filling. Use a rolling pin to help transfer the dough if needed. Pinch the edges lightly to seal and cut vents in the top crust to allow steam escape during baking.
- Bake the Pie:
Bake the assembled pie in the preheated oven for about 40 minutes, rotating the pan halfway through, until the crust is golden brown. Remove from oven and transfer to a wire rack to cool completely before glazing.
- Prepare and Apply the Glaze:
Beat together the confectioners’ sugar, room temperature butter, vanilla extract, and whole milk until smooth and creamy. Once the pie is cooled, spread the glaze evenly over the top. Allow the glaze to set and harden before slicing into squares and serving. Optionally, add a pinch of cinnamon or a squeeze of lemon juice to the glaze for extra flavor.
Notes
- Keep the butter very cold while preparing the dough to ensure flakiness.
- Don’t overwork the dough to avoid tough pastry.
- Chilling the dough before baking helps relax gluten and enhances flakiness.
- Make sure to cut vents in the top crust to prevent soggy pastry from steam buildup.
- You can add cinnamon or lemon juice to the glaze for added flavor.
- Use prepared apple pie filling for convenience or make your own for a fresher taste.
Keywords: Chicago style apple slices, apple pie slices, easy apple dessert, apple pie with glaze, homemade apple pastry