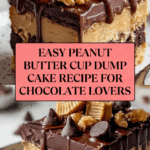
Peanut Butter Cup Dump Cake: Easy Recipe & Delicious Dessert Recipe
Introduction
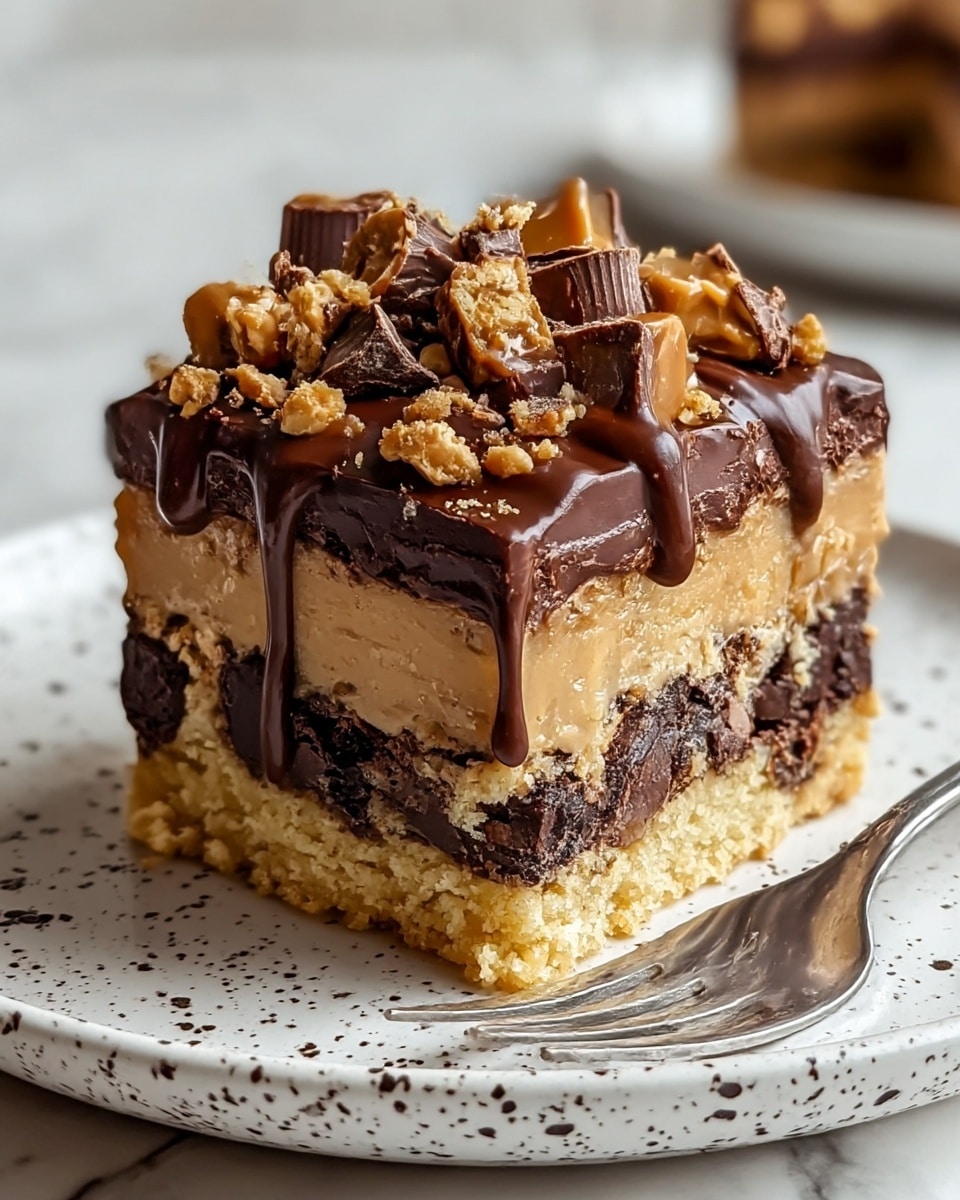
This Peanut Butter Cup Dump Cake is an easy and delicious dessert that combines rich chocolate with creamy peanut butter in perfect harmony. With simple layering and no-fuss preparation, it’s ideal for busy home cooks craving a decadent treat.
Ingredients
- 1 box (15.25 oz) chocolate cake mix
- 1 can (14 oz) sweetened condensed milk
- 1 cup milk (any kind works!)
- 1/2 cup creamy peanut butter
- 1/2 cup butter, melted
- 1 teaspoon vanilla extract
- 1 (10-12 oz) bag of mini peanut butter cups, unwrapped (Reese’s are my favorite!)
- Optional: Chocolate syrup for drizzling
- Optional: Whipped cream or vanilla ice cream for serving
Instructions
- Step 1: In a large bowl, combine the sweetened condensed milk and milk. Add the creamy peanut butter and vanilla extract. Whisk or use a hand mixer until smooth and creamy, with no lumps.
- Step 2: Preheat your oven to 350°F (175°C) and grease a 9×13 inch baking dish with butter or cooking spray.
- Step 3: Pour the peanut butter mixture evenly into the bottom of the prepared baking dish.
- Step 4: Sprinkle the dry chocolate cake mix evenly over the peanut butter layer, distributing it as uniformly as possible without adding any other cake mix ingredients.
- Step 5: Drizzle the melted butter evenly over the dry cake mix, spreading gently if needed to cover the surface.
- Step 6: Unwrap the mini peanut butter cups and sprinkle them evenly over the top. Press them down slightly into the cake mix so they melt during baking.
- Step 7: Bake in the preheated oven for 30-35 minutes, until the top is golden brown and set. A toothpick inserted should come out with moist crumbs, not dry.
- Step 8: Remove from the oven and let cool for 15-20 minutes before serving to allow the cake to set.
- Step 9: Optional: Drizzle chocolate syrup on top and serve warm with whipped cream or vanilla ice cream for an indulgent touch.
Tips & Variations
- Use whole milk or cream for a richer peanut butter mixture, or almond milk for a dairy-free option.
- Try different types of peanut butter—natural or whipped—to vary the texture and flavor.
- Press the peanut butter cups slightly into the batter to help them melt and create gooey pockets.
- Substitute mini peanut butter cups with chopped full-size cups or peanut butter chips for a different bite.
Storage
Store any leftovers covered tightly in the refrigerator for up to 4 days. Reheat individual portions in the microwave for about 20-30 seconds until warm. This cake can also be frozen for up to 2 months; thaw overnight in the fridge before reheating.
How to Serve
Serve this delicious recipe with your favorite sides.
FAQs
Do I need to add eggs or oil like in a regular cake?
No, this dump cake relies on the sweetened condensed milk, butter, and milk mixture for moisture and richness, so you don’t need to add eggs or oil.
Can I make this dessert nut-free?
This recipe centers on peanut butter and peanut butter cups, so it’s not suitable for nut allergies. However, you could experiment with replacing peanut butter with a safe alternative like sunflower seed butter, but results will vary.
PrintPeanut Butter Cup Dump Cake: Easy Recipe & Delicious Dessert Recipe
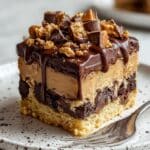
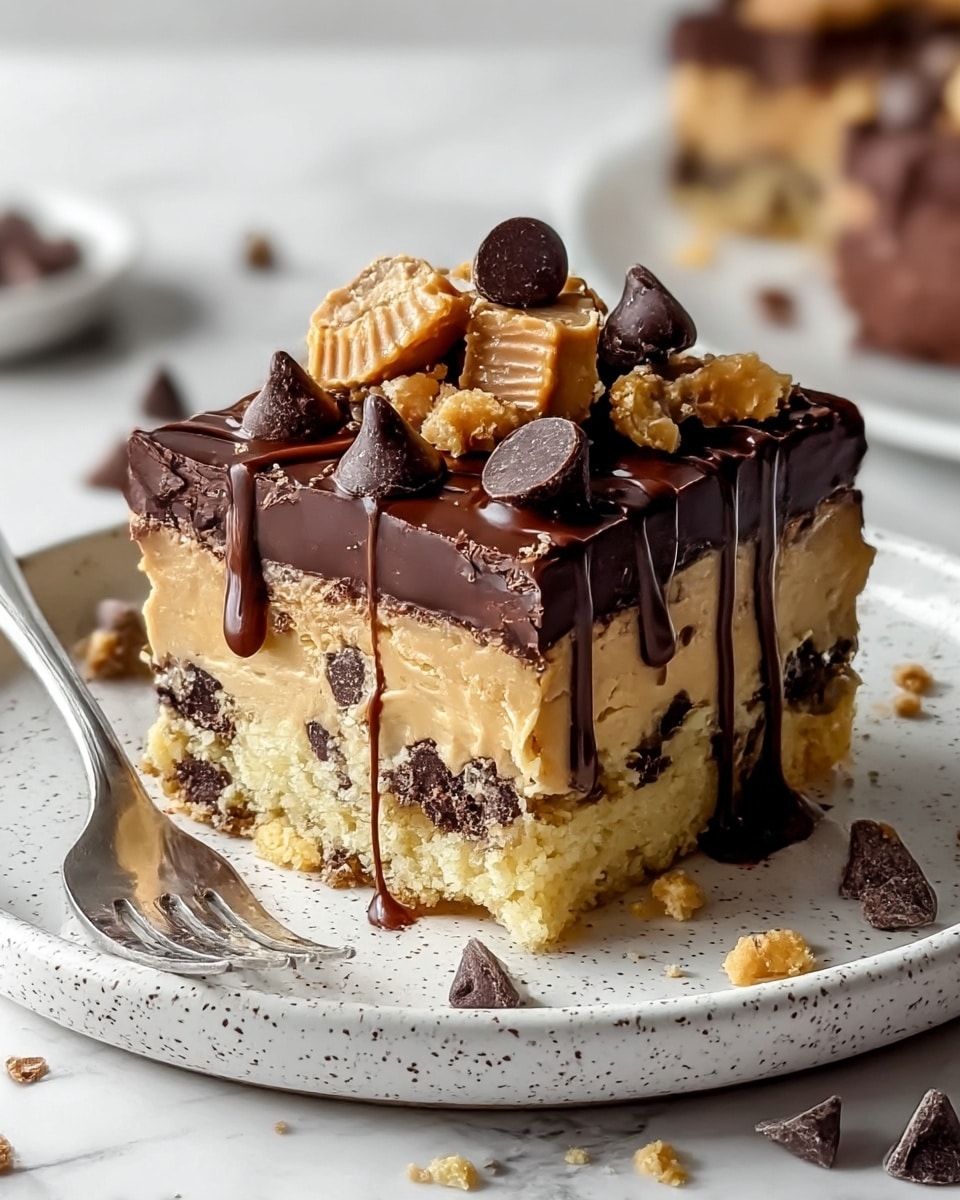
This Peanut Butter Cup Dump Cake is an easy-to-make and irresistibly delicious dessert that combines the rich flavors of chocolate and peanut butter in a simple layered bake. With minimal prep and no complicated steps, this dump cake features a smooth peanut butter base topped with chocolate cake mix, melted butter, and melty mini peanut butter cups, baked to gooey perfection. It’s perfect for warm serving alongside ice cream or whipped cream for an indulgent treat.
- Prep Time: 10 minutes
- Cook Time: 30-35 minutes
- Total Time: 45 minutes
- Yield: 12 servings 1x
- Category: Dessert
- Method: Baking
- Cuisine: American
Ingredients
Peanut Butter Mixture
- 1 can (14 oz) sweetened condensed milk
- 1 cup milk (any kind: whole, 2%, almond, etc.)
- 1/2 cup creamy peanut butter
- 1 teaspoon vanilla extract
Cake Layer
- 1 box (15.25 oz) chocolate cake mix (dry mix only, no additional ingredients from box)
- 1/2 cup butter, melted
Toppings
- 1 (10-12 oz) bag mini peanut butter cups, unwrapped (Reese’s recommended)
- Optional: Chocolate syrup for drizzling
- Optional: Whipped cream or vanilla ice cream for serving
Instructions
- Prepare the Peanut Butter Mixture: In a large bowl, combine the entire can of sweetened condensed milk with 1 cup of your choice of milk. Add the creamy peanut butter and vanilla extract. Whisk or beat the mixture using a hand mixer until it is completely smooth and creamy with no lumps.
- Preheat and Grease Baking Dish: Preheat your oven to 350°F (175°C). Grease a 9×13 inch baking dish thoroughly with butter or cooking spray to ensure the cake doesn’t stick.
- Layer the Peanut Butter Mixture: Pour the prepared peanut butter mixture evenly into the bottom of the greased baking dish, spreading it out to form an even base layer.
- Add the Chocolate Cake Mix: Sprinkle the dry chocolate cake mix evenly over the peanut butter layer. Take care to distribute it uniformly so each bite balances the chocolate and peanut butter flavors.
- Drizzle with Melted Butter: Evenly pour the melted butter over the dry cake mix layer. Use a spoon to gently spread it if needed to ensure full coverage, which helps to moisten the cake and create a slightly crispy top.
- Add Mini Peanut Butter Cups: Unwrap the mini peanut butter cups and scatter them evenly across the top of the cake. Press them lightly into the cake mix to allow them to melt nicely during baking.
- Bake the Cake: Place the baking dish in the preheated oven. Bake for 30-35 minutes or until the top is golden brown and the cake appears set. Check doneness by inserting a toothpick; it should come out with moist crumbs attached rather than fully clean, keeping the cake gooey.
- Cool Slightly: Remove the dish from the oven and let the cake cool for 15-20 minutes to set up slightly and prevent burning when eating.
- Serve and Enjoy: Optionally drizzle chocolate syrup on top before serving for extra chocolate flavor. Serve warm with a scoop of vanilla ice cream or a dollop of whipped cream to contrast the warm, gooey cake. Enjoy this rich and comforting dessert with family or friends!
Notes
- Use any type of milk you prefer, including dairy-free options like almond milk, for different flavor profiles.
- Do not add any ingredients listed on the cake mix box such as eggs or oil; only use the dry cake mix for this recipe.
- Pressing the peanut butter cups slightly into the top layer helps them melt better during baking for gooey pockets of peanut butter goodness.
- If you want a more pronounced peanut butter flavor, use creamy peanut butter instead of chunky.
- This cake is best served warm, but leftovers can be refrigerated and gently reheated.
- To avoid sticking, grease the baking dish thoroughly with butter rather than non-stick spray.
Keywords: peanut butter cup dump cake, easy dessert, chocolate peanut butter cake, dump cake recipe, simple dessert, quick cake, peanut butter dessert