Armenian Gata Recipe
Introduction
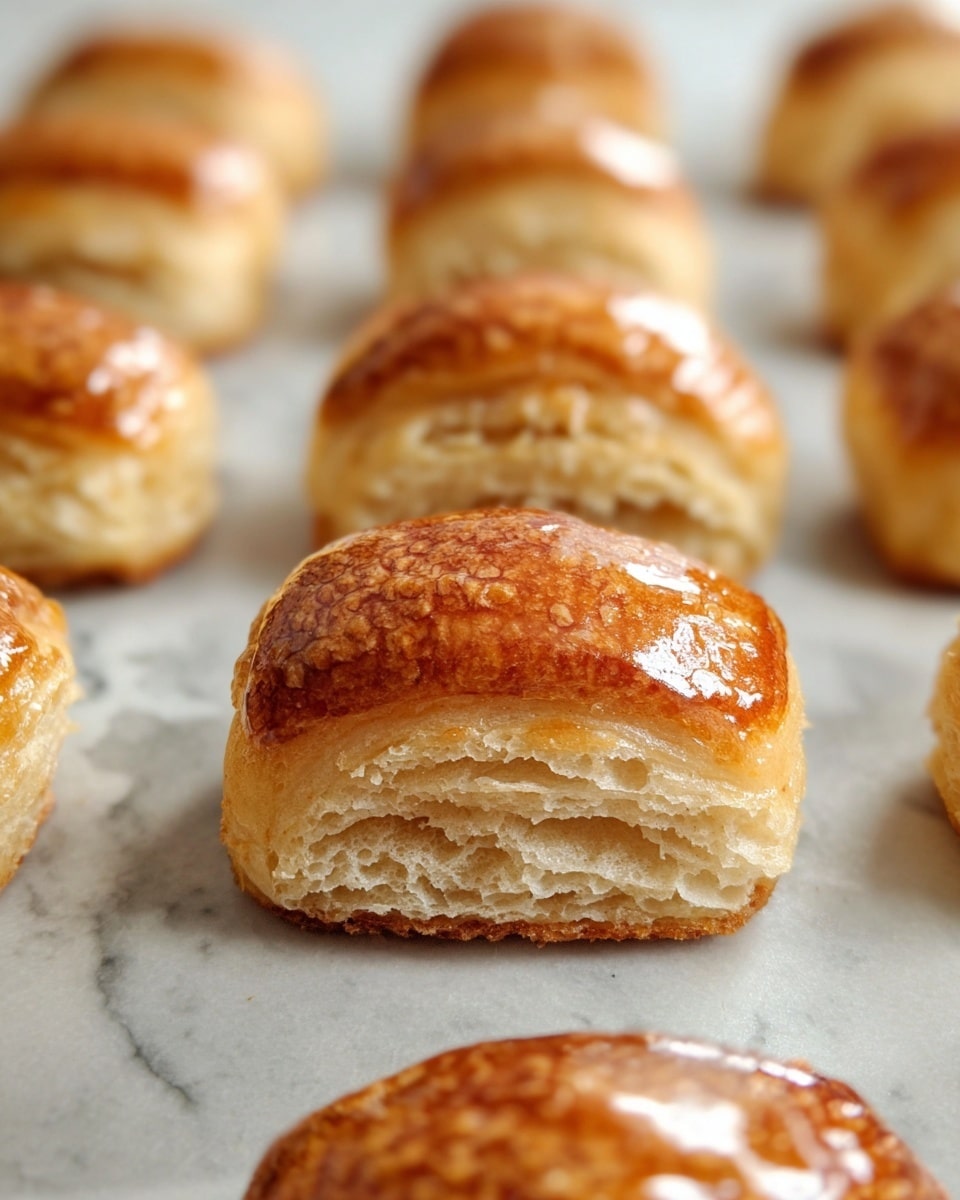
Armenian Gata is a rich and buttery sweet bread with a delicate crumbly filling called “Khoreez.” Perfect for sharing with friends and family, this traditional pastry offers a unique blend of flaky layers and sweet vanilla flavor that will delight your taste buds.
Ingredients
- 454 grams (16 ounces) full-fat sour cream
- 6 grams (1 teaspoon) baking soda
- 4 grams (1 teaspoon) baking powder
- 500 grams (4 cups) all-purpose flour
- 255 grams (2 ¼ sticks or 9 ounces) unsalted butter, cold, cut into 1 tablespoon-sized pieces
- 188 grams (1 ½ cups) all-purpose flour (for filling)
- 170 grams (1 ½ sticks or 6 ounces) unsalted butter, cold, cut into 1 tablespoon-sized pieces (for filling)
- 300 grams (1 ½ cups) granulated sugar
- 1 teaspoon pure vanilla extract
- 1 egg chalaza removed (thick white part by the yolk—use the egg shell to remove it), beaten
Instructions
- Step 1: Prepare the dough by mixing baking soda and baking powder into the sour cream until fully combined. Set aside.
- Step 2: In a food processor, pulse half the flour and half the cold butter until the mixture appears sandy with small pea-sized butter bits. Add half the sour cream mixture and pulse until it forms a dough mass. Transfer to a floured surface.
- Step 3: Repeat the process with the remaining flour, butter, and sour cream mixture, then combine both dough halves gently without kneading.
- Step 4: Divide the dough into 4 equal pieces. Flatten each to about ½-inch thick, fold into thirds like a letter, turn 90 degrees, and fold again into thirds to form a square. Wrap in plastic and refrigerate overnight in an airtight container.
- Step 5: For the filling, pulse the flour and butter in a food processor until sandy with small butter bits. Add sugar and vanilla and pulse a few more times to combine without forming a dough. Transfer to a bowl and divide into 4 sections.
- Step 6: Preheat oven to 350°F and prepare 3 baking sheets with parchment paper. Working with two dough squares at a time, roll one out on a lightly floured surface to about 1/16-inch thick and approximately 12-by-15 inches.
- Step 7: Spread ¼ of the filling evenly over the dough, leaving a 1-inch border on one edge clear. Press filling firmly into the dough with your palms.
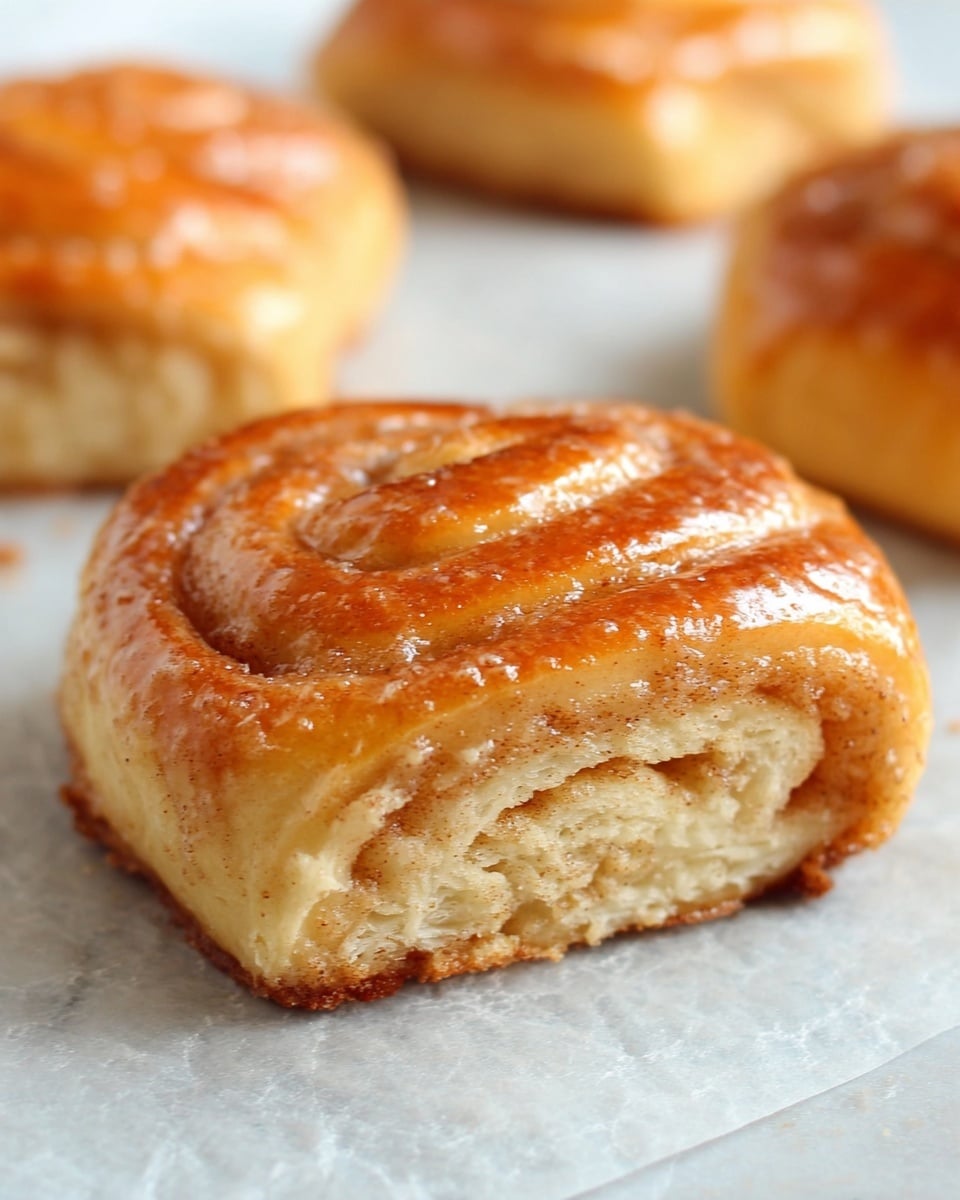
- Step 8: Roll the dough tightly from the edge closest to you. Flatten the roll gently with a rolling pin to avoid a rounded shape.
- Step 9: Brush the roll with the beaten egg. Using a serrated cutter or dough scraper, cut it into 1 ¼-inch slices. Transfer slices gently to prepared baking sheets, including less perfect end pieces.
- Step 10: Repeat with remaining dough squares, cleaning your work surface and reusing parchment as needed.
- Step 11: Bake each tray for 25–35 minutes, rotating midway, until golden brown with cooked-through sides. Cool completely on baking sheets before removing.
Tips & Variations
- For a beautiful edge, use a serrated vegetable cutter when slicing the rolls, but a dough scraper will work if unavailable.
- Press the filling firmly into the dough to reduce spillage when rolling and slicing.
- If your gata softens after storage, reheat in a 350°F oven for 5 minutes to restore crispness.
- You can freeze baked gata in a sealed container layered with parchment paper between pieces for best results.
Storage
Store cooled gata covered loosely with a tea towel to maintain crispness and prevent softening. They keep well at room temperature for several days. For longer storage, freeze gata in an airtight container lined with parchment paper between layers. Reheat thawed gata in a 350°F oven for about 5 minutes to refresh their texture.
How to Serve
Serve this delicious recipe with your favorite sides.
FAQs
Can I make the dough and filling ahead of time?
Yes, the dough should be prepared and refrigerated overnight for the best texture. The filling can be made the next day just before assembling.
What if I don’t have a serrated cutter to slice the gata?
You can use a dough scraper or a sharp knife to cut the slices. While the edges won’t be serrated, the gata will still taste delicious.
PrintArmenian Gata Recipe

Armenian Gata is a traditional sweet bread featuring a tender, flaky dough filled with a rich, buttery, sugary filling called “Khoreez.” This delectable pastry combines a sour cream-based dough with a crumbly vanilla-scented filling, rolled and baked to golden perfection. Ideal for breakfast, tea time, or a comforting dessert, Armenian Gata offers a delightful balance of creamy texture and sweet flavor with a crisp exterior and flaky layers inside.
- Prep Time: 30 minutes (plus overnight chilling)
- Cook Time: 25-35 minutes per tray, 3 trays total ≈ 1.5 to 2 hours
- Total Time: Overnight resting plus approximately 2 hours active time
- Yield: Approximately 20–24 slices (depending on cutting thickness) 1x
- Category: Dessert
- Method: Baking
- Cuisine: Armenian
- Diet: Vegetarian
Ingredients
Dough:
- 454 grams (16 ounces) full-fat sour cream
- 6 grams (1 teaspoon) baking soda
- 4 grams (1 teaspoon) baking powder
- 500 grams (4 cups) all-purpose flour
- 255 grams (2 ¼ sticks or 9 ounces) unsalted butter, cold, cut into 1 tablespoon-sized pieces
Filling (“Khoreez”):
- 188 grams (1 ½ cups) all-purpose flour
- 170 grams (1 ½ sticks or 6 ounces) unsalted butter, cold, cut into 1 tablespoon-sized pieces
- 300 grams (1 ½ cups) granulated sugar
- 1 teaspoon pure vanilla extract
To Finish:
- 1 egg chalaza removed (thick white part by the yolk—use the egg shell to remove it), beaten
Instructions
- Prepare the Dough: Combine baking soda and baking powder with sour cream until fully incorporated; set aside. In a food processor, pulse half the flour and half the butter until sandy with pea-sized butter bits. Add half the sour cream mixture and mix until doughy. Transfer to a floured surface and repeat with remaining ingredients, then combine both halves gently without kneading. Divide dough into 4 equal parts.
- Shape and Chill Dough: Press each dough piece into a flat ½-inch thick rectangle, fold into thirds twice to form a neat square with sharp edges, wrap each in plastic wrap, and refrigerate overnight in an airtight container.
- Make the Filling (Khoreez): Pulse flour and butter in the food processor until sandy with small butter bits. Add sugar and vanilla, pulse a few more times to combine crumbs (do not form dough). Transfer filling to a shallow bowl and divide into four sections using a spoon.
- Preheat Oven and Prepare Baking Sheets: Set oven to 350°F (175°C). Line three baking sheets with parchment paper.
- Roll Out Dough and Add Filling: Remove two dough squares at a time. Roll one square on a lightly floured surface into a 12×15-inch rectangle about 1/16-inch thick, aiming for even edges. Spread ¼ of the filling evenly over the dough, leaving a 1-inch border at the far edge. Press filling firmly into dough.
- Roll and Flatten: Roll dough tightly from the nearest edge, sealing the top gently. Transfer roll to parchment or wax paper; lay diagonally if needed. Using a rolling pin, gently flatten the roll from center outward in both directions to avoid a rounded shape.
- Slice and Arrange: Brush roll with beaten egg. Using a serrated cutter or dough scraper, cut into 1 ¼-inch slices. Transfer slices carefully to baking sheets, including end pieces.
- Repeat Rolling and Slicing: Dispose extra crumbs into the filling bowl to avoid waste and clean work surfaces. Repeat rolling, filling, and slicing for remaining dough squares, reusing parchment as appropriate.
- Bake the Gata: Bake one tray at a time for 25–35 minutes. Rotate pans halfway through baking. Bake until tops are deep golden brown and sides look fully cooked.
- Cool and Store: Let baked gata cool completely before removing from sheets. Store covered with a tea towel (not plastic or foil) to retain crispness.
- Freeze and Refresh: Freeze gata in a sealed container layered with parchment or wax paper. Reheat at 350°F for 5 minutes to restore crispness if softened.
Notes
- Do not knead the dough; gentle pressing is essential to keep the dough flaky.
- The dough should be made at least a day in advance for best texture.
- Removing chalaza from the egg prevents clumps while brushing.
- Use minimal flour when rolling to avoid stiffness in the dough.
- Baking trays must be baked one at a time for even browning and cooking.
- Ensure despite the rustic shape, slices are approximately uniform for even baking.
- Cover with a tea towel instead of plastic wrap after baking to preserve crispness.
- Reheating frozen gata enhances texture and flavor.
Keywords: armenian gata, armenian pastry, sweet bread, sour cream dough, khoreez filling, baked dessert, flaky pastry