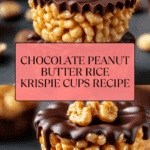
Chocolate Peanut Butter Rice Krispie Cups Recipe
If you are searching for an irresistible treat that perfectly balances sweet, salty, and crunchy, look no further than these Chocolate Peanut Butter Rice Krispie Cups. This delightful dessert combines the nostalgic charm of Rice Krispies with the creamy richness of peanut butter and a luscious layer of chocolate to create a snack that’s as fun to make as it is to enjoy. Whether you’re serving these at a party, packing them in lunchboxes, or simply craving a satisfying homemade dessert, these cups will quickly become a beloved staple in your kitchen.
Ingredients You’ll Need
Each ingredient in this recipe plays an essential role, delivering the perfect blend of texture, flavor, and that classic chewy yet crispy bite. The simplicity of these ingredients means you likely have most of them on hand already, which makes whipping up these cups a breeze!
- Rice Krispies cereal: The foundation of this treat providing delightful crunch that contrasts with the creamy layers.
- Creamy peanut butter: Adds rich, nutty flavor and smooth texture that binds everything together.
- Unsalted butter: Ensures a luscious melt that helps bind the marshmallows and Rice Krispies.
- Mini marshmallows: The sweet glue that creates a tender, chewy texture in every bite.
- Chocolate chips: Melted into a glossy topping, adding an indulgent chocolate finish.
- Vanilla extract (optional): Enhances the flavor profile with a warm, aromatic note.
- Pinch of sea salt (optional): Balances sweetness and elevates the overall flavor complexity.
How to Make Chocolate Peanut Butter Rice Krispie Cups
Step 1: Melt the Base
Begin by gently melting the unsalted butter and mini marshmallows together over low heat in a medium saucepan. Constantly stir the mixture to prevent scorching and to ensure a smooth, creamy texture that will blend beautifully with the peanut butter.
Step 2: Add Peanut Butter
Once the butter and marshmallows have melted into a luscious base, stir in the creamy peanut butter along with the vanilla extract if you’re using it. Keep stirring until everything is fully combined and captures that irresistible, creamy consistency that’s key for coating the cereal perfectly.
Step 3: Mix with Cereal
Transfer your Rice Krispies cereal into a large mixing bowl. Pour the warm peanut butter mixture over the cereal and fold gently but thoroughly to ensure every crunchy piece is evenly coated. Be careful to fold gently—preserving that crisp texture is vital to keeping these cups wonderfully crunchy.
Step 4: Shape the Cups
Line a muffin tin with paper liners, then spoon the cereal mixture evenly into each cup. Press down gently to form a firm, flat surface, but don’t compact it too tightly—you want to maintain the airy crunch Rice Krispies are famous for.
Step 5: Add Chocolate Layer
Melt your chocolate chips in the microwave in 20-second bursts, stirring between intervals to avoid burning. Once smooth, spoon the melted chocolate evenly over each Rice Krispie cup. If you like, sprinkle a pinch of sea salt on top to cut through the sweetness and add a gourmet touch.
Step 6: Set & Serve
Allow the cups to cool at room temperature for about 20 minutes, or place them in the fridge for quicker setting. When the chocolate is firm, gently peel off the paper liners and get ready to indulge in these perfectly balanced delights!
How to Serve Chocolate Peanut Butter Rice Krispie Cups
Garnishes
Sprinkling a tiny bit of flaky sea salt over the chocolate layer right before the cups set adds an irresistible salty-sweet contrast. You can also drizzle a bit of melted white chocolate or sprinkle chopped peanuts for added texture and flair.
Side Dishes
These cups pair beautifully with simple sides such as fresh fruit slices like strawberries or bananas, which complement the richness without overwhelming your taste buds. A cold glass of milk or a creamy hot chocolate also make excellent companions for an indulgent snack time.
Creative Ways to Present
For parties, arrange the Chocolate Peanut Butter Rice Krispie Cups on a decorative board with colorful napkins for a festive touch. You can also layer them in clear jars for DIY dessert gifts or package them with ribbons for a charming homemade treat that’s sure to impress everyone.
Make Ahead and Storage
Storing Leftovers
Keep any leftover cups in an airtight container at room temperature for up to 3 days to maintain their crispness and softness. Avoid humid environments to prevent the texture from becoming soggy.
Freezing
You can freeze these cups by wrapping them individually in plastic wrap or placing them in a freezer-safe container. They’ll keep well for up to one month. Thaw them at room temperature before serving for the best texture and flavor.
Reheating
Since these are best enjoyed as a cool, crisp treat, reheating isn’t usually necessary. However, if you prefer a warm peanut butter flavor, briefly microwave a single cup for about 10 seconds—just be careful not to melt the chocolate topping too much.
FAQs
Can I use crunchy peanut butter instead of creamy?
Absolutely! Using crunchy peanut butter will add an extra layer of texture to the cups, giving each bite even more peanut-packed crunch. Just be aware it might slightly change how the mixture binds together.
Is there a way to make these cups gluten-free?
Rice Krispies original cereal does contain malt flavoring derived from barley, which is not gluten-free. However, you can substitute with a certified gluten-free crispy rice cereal to keep the recipe safe for gluten-sensitive eaters.
Can I substitute the chocolate chips for a different type of chocolate?
Yes, feel free to use dark, milk, or even white chocolate to top your cups according to your preference. Just be sure to melt it gently to achieve a smooth finish.
What’s the best way to prevent the marshmallow mixture from burning?
Keeping the heat low and stirring continuously are key steps to avoid burning. Using a double boiler setup can also help maintain gentle, even heat for melting all the ingredients smoothly.
Can these be made vegan?
To make vegan Chocolate Peanut Butter Rice Krispie Cups, use vegan butter, a dairy-free marshmallow alternative, and vegan chocolate chips. Check that your Rice Krispies cereal is free from animal products as well.
Final Thoughts
I can honestly say these Chocolate Peanut Butter Rice Krispie Cups are a quick, joyful way to satisfy any sweet tooth while bringing a smile to your face. They are wonderfully simple to make, shareable, and bring back all the nostalgic feelings with every bite. Give this recipe a try—you’ll wonder how you ever lived without having these in your dessert rotation!
PrintChocolate Peanut Butter Rice Krispie Cups Recipe

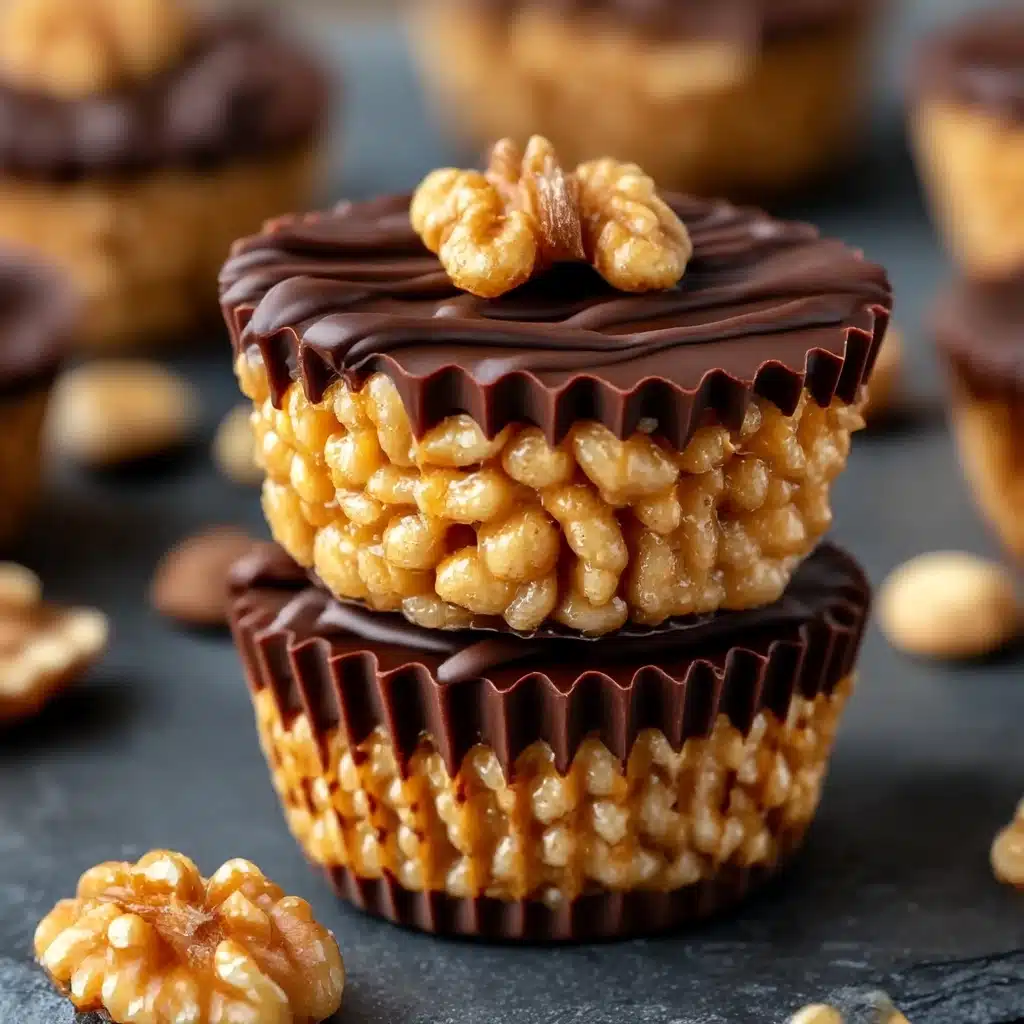
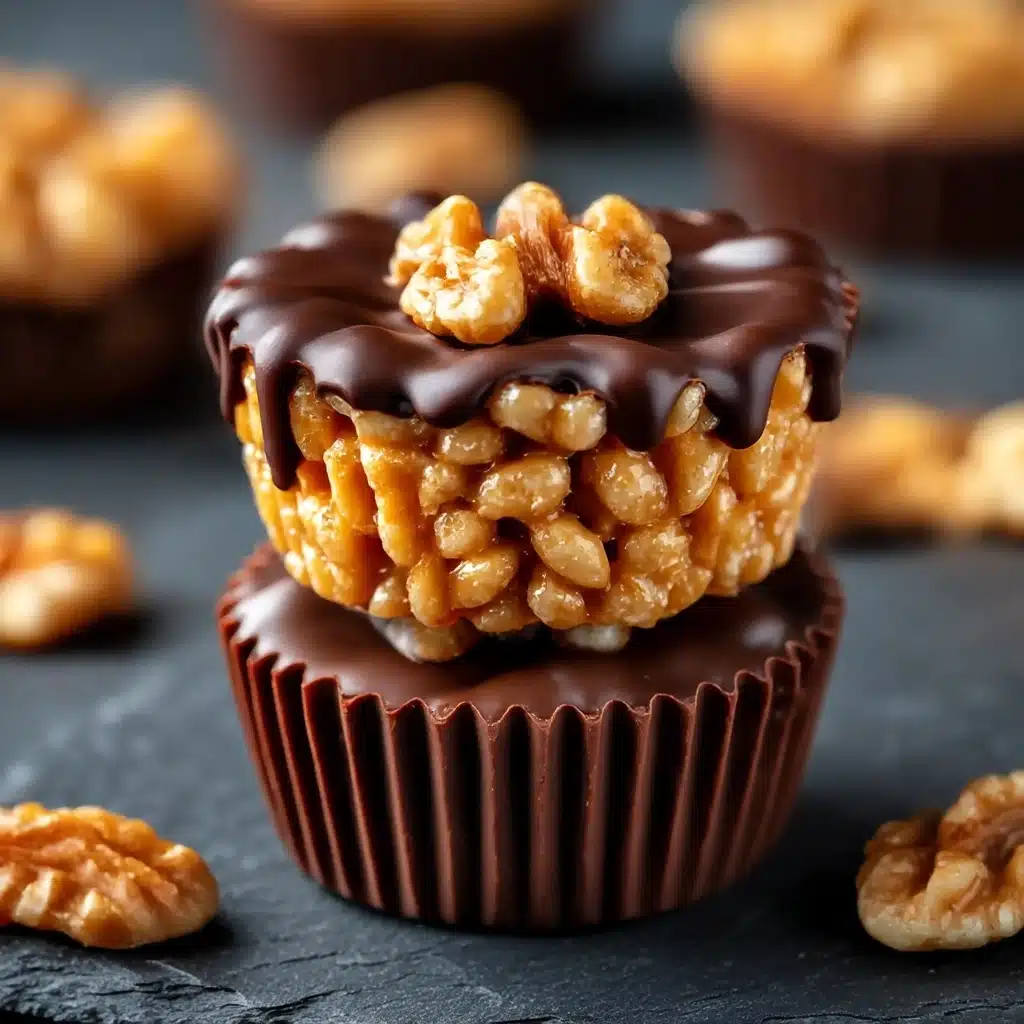
Deliciously crunchy and creamy Chocolate Peanut Butter Rice Krispie Cups combine the classic crispy cereal with smooth peanut butter and a rich chocolate topping, creating a perfect no-bake treat for any occasion.
- Prep Time: 10 minutes
- Cook Time: 10 minutes
- Total Time: 20 minutes
- Yield: 12 cups 1x
- Category: Snack, Dessert
- Method: No-Bake
- Cuisine: American
- Diet: Vegetarian
Ingredients
Base Ingredients
- 3 cups Rice Krispies cereal
- 1 cup creamy peanut butter
- 1/2 cup unsalted butter
- 1 cup mini marshmallows
- 1/2 tsp vanilla extract (optional)
- Pinch of sea salt (optional)
Chocolate Topping
- 1 cup chocolate chips
Instructions
- Melt the Base: In a medium saucepan over low heat, melt the butter and mini marshmallows, stirring constantly until the mixture is smooth and fully combined.
- Add Peanut Butter: Stir in the peanut butter and vanilla extract (if using) into the melted mixture, continuing to stir until the mixture is creamy and well blended.
- Mix with Cereal: Pour the Rice Krispies cereal into a large bowl, then pour the peanut butter mixture over it. Gently fold the mixture together to ensure all the cereal is evenly coated without crushing the cereal.
- Shape the Cups: Line a muffin tin with paper liners. Spoon the cereal mixture evenly into each cup, pressing down gently to create a flat, compact surface while preserving the crunchy texture.
- Add Chocolate Layer: Melt the chocolate chips in the microwave in 20-second intervals, stirring between each, until smooth. Spoon the melted chocolate over each rice krispie cup and spread evenly. Optionally, sprinkle a pinch of sea salt on top.
- Set & Serve: Allow the cups to cool at room temperature for about 20 minutes or place them in the refrigerator to set faster. Once firm, remove the paper liners and serve immediately for a perfect combination of flavors and textures.
Notes
- Low Heat is Key: When melting butter, marshmallows, and peanut butter, keep the heat low and stir constantly to prevent burning or altering the texture, ensuring a smooth and creamy base.
- Press Gently: When shaping the cups in the muffin tin, press the mixture lightly to maintain the signature crunch of the Rice Krispies without crushing them.
- Chill for Best Results: For a firm chocolate topping that won’t melt when served, chill the cups in the fridge for at least 20 minutes to allow the chocolate to set properly.
Nutrition
- Serving Size: 1 cup (approximately)
- Calories: 210
- Sugar: 14g
- Sodium: 85mg
- Fat: 12g
- Saturated Fat: 5g
- Unsaturated Fat: 6g
- Trans Fat: 0g
- Carbohydrates: 22g
- Fiber: 1g
- Protein: 5g
- Cholesterol: 15mg
Keywords: Chocolate Peanut Butter Rice Krispie Cups, peanut butter treats, no-bake desserts, Rice Krispies recipes, easy chocolate snacks