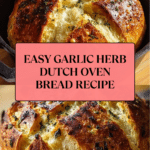
Garlic Herb Dutch Oven Bread Recipe
Introduction
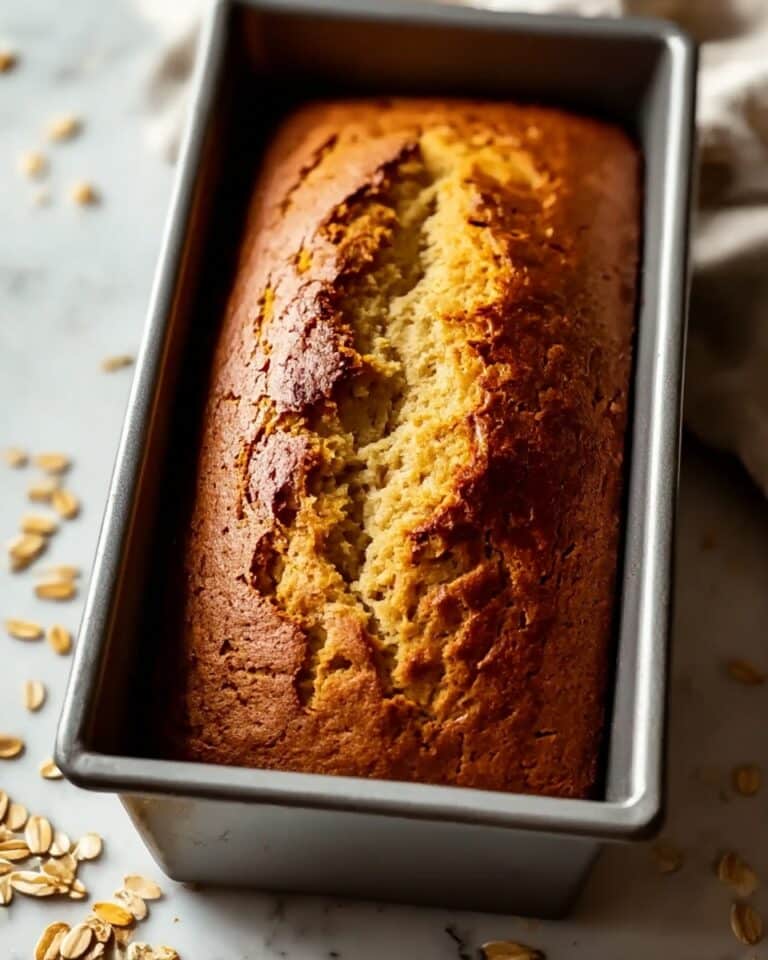
This Garlic Herb Dutch Oven Bread is a simple yet flavorful homemade loaf that combines the aroma of fresh garlic and herbs with a crusty exterior and soft interior. Perfect for beginners, this recipe requires minimal ingredients and patience for a delicious result you’ll love to share.
Ingredients
- 3 cups all-purpose flour, plus extra for dusting
- 2 teaspoons fine sea salt
- 1/2 teaspoon instant yeast
- 1 1/2 cups lukewarm water (90-100°F)
- 4 cloves garlic, minced finely or pressed
- 2 tablespoons fresh herbs (rosemary, thyme, or combination), chopped finely
- 1 tablespoon olive oil, for coating
Instructions
- Step 1: In a large mixing bowl, whisk together the flour, salt, and instant yeast. Add the minced garlic and chopped herbs, stirring to distribute evenly throughout the mixture.
- Step 2: Pour in the lukewarm water and stir with a wooden spoon until no dry flour remains. The dough will be sticky and rough in texture.
- Step 3: Cover the bowl tightly with plastic wrap or a damp towel and let the dough rise at room temperature for 12 to 18 hours, or until it has doubled in size and is bubbly.
- Step 4: Generously flour a work surface and your hands. Gently scrape the dough onto the surface and fold the edges toward the center to form a round shape.
- Step 5: Place the shaped dough on oiled parchment paper, cover loosely with a towel, and let it rest for 45 minutes to 1 hour.
- Step 6: Place your Dutch oven with the lid on in the oven and preheat to 450°F for 30 minutes.
- Step 7: Carefully remove the hot Dutch oven from the oven. Using the parchment paper as a sling, lower the dough into the pot. Score the top of the dough with a sharp knife.
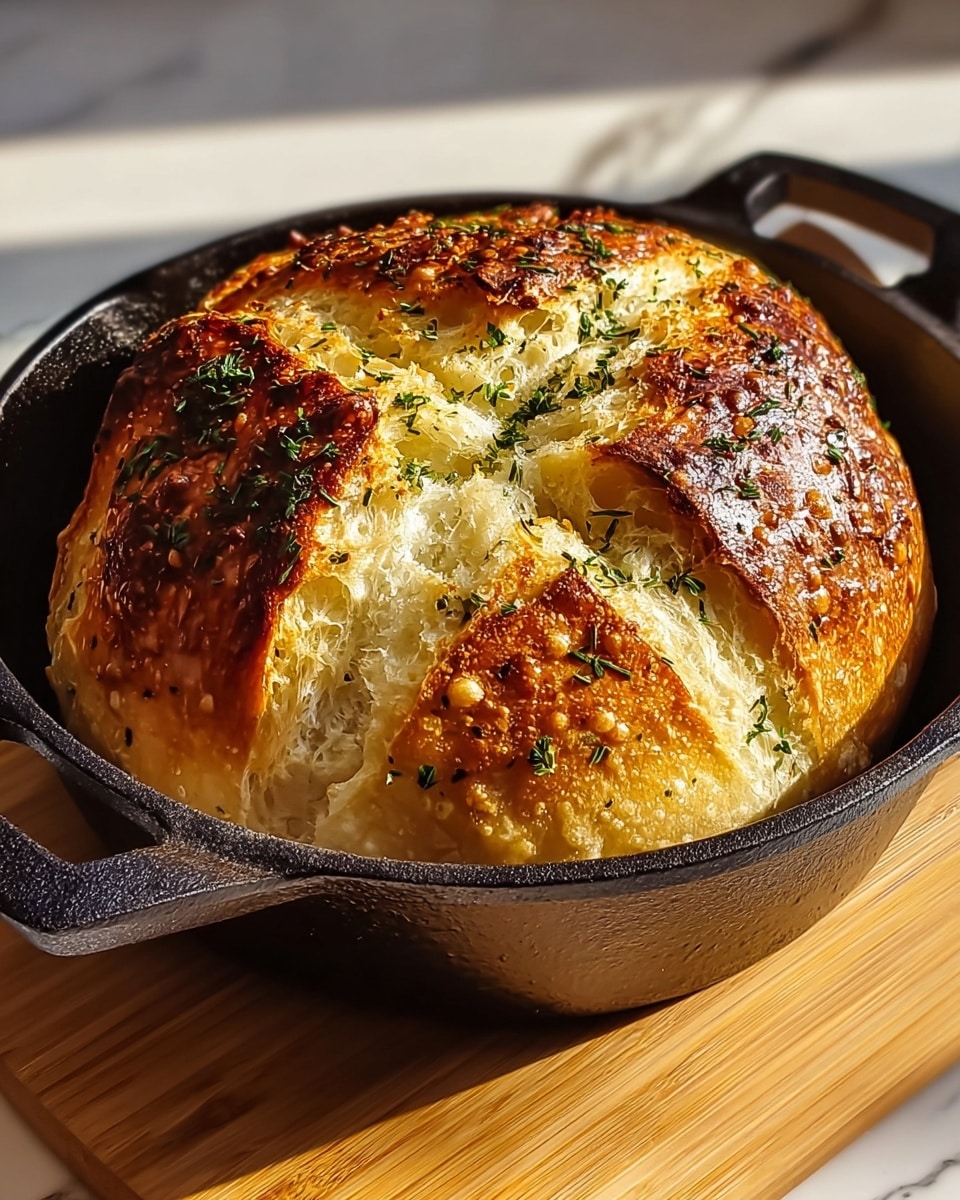
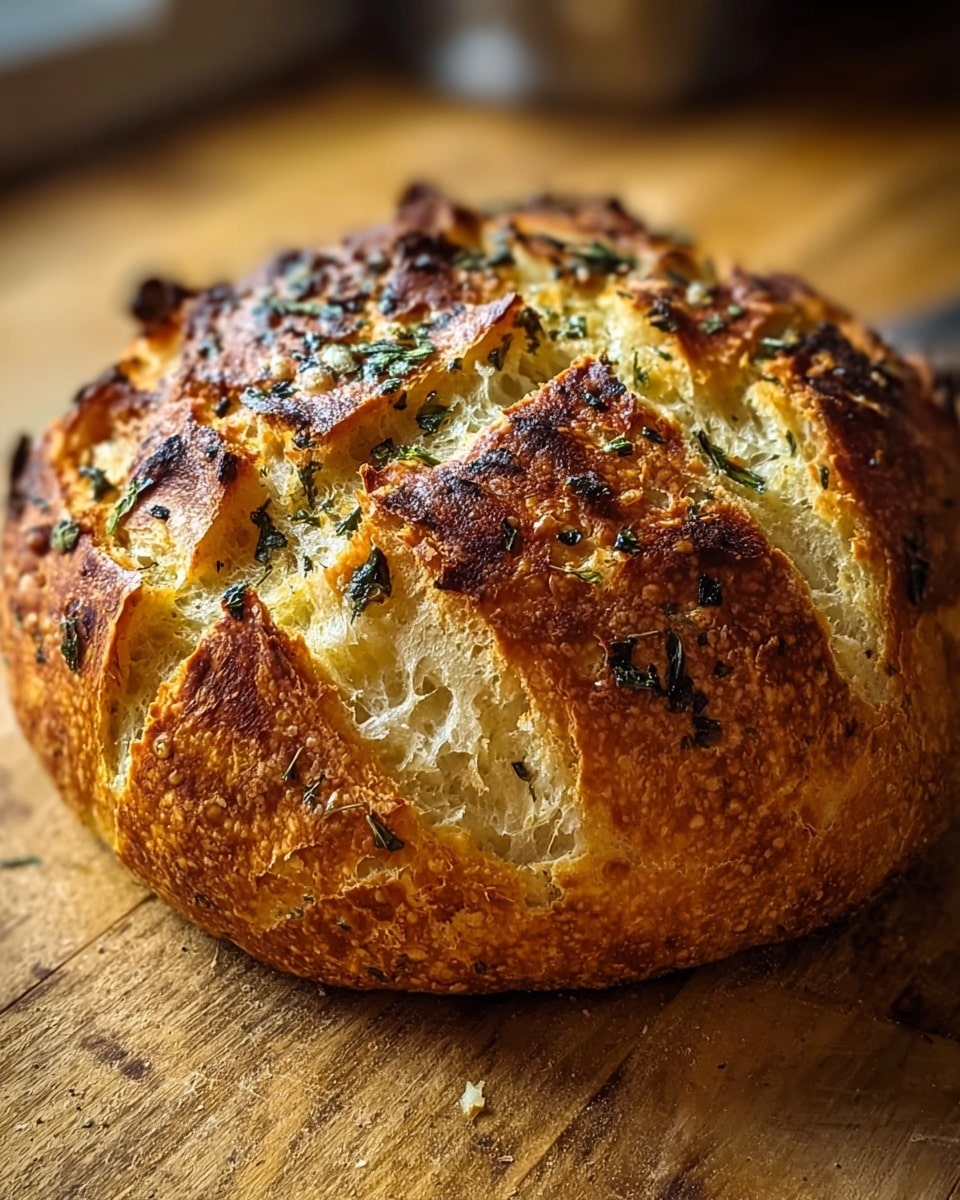
- Step 8: Cover with the lid and bake for 30 minutes. Then remove the lid and bake uncovered for an additional 15 to 20 minutes, or until the bread is deep golden brown.
- Step 9: Remove the bread from the Dutch oven and transfer it to a wire rack. Allow it to cool for at least 30 minutes before slicing.
Tips & Variations
- For a more intense garlic flavor, roast the garlic before adding it to the dough.
- Try mixing different fresh herbs like sage or oregano for varied herb notes.
- Use bread flour instead of all-purpose flour for a chewier texture and higher rise.
- If you don’t have a Dutch oven, use any oven-safe pot with a lid that can withstand high heat.
Storage
Store the bread loosely wrapped in a paper bag or cloth at room temperature for up to 2 days to maintain its crust. For longer storage, slice and freeze the bread in an airtight bag for up to 3 months. Reheat slices in a toaster or oven to restore crispness.
How to Serve
Serve this delicious recipe with your favorite sides.
FAQs
Can I use active dry yeast instead of instant yeast?
Yes, you can substitute active dry yeast, but dissolve it in the lukewarm water first and let it bloom for about 5 minutes before mixing with the dry ingredients.
Why does the dough need such a long rise time?
The long, slow rise develops flavor and improves texture by allowing the yeast to work gently, resulting in a better crumb and crust.
PrintGarlic Herb Dutch Oven Bread Recipe
This Garlic Herb Dutch Oven Bread is a fragrant, crusty artisan-style loaf made with simple ingredients and baked to perfection in a Dutch oven. The combination of fresh garlic and herbs like rosemary and thyme infuses the bread with wonderful flavor. With a long, slow fermentation for a tender crumb and deep flavor, this easy recipe yields a rustic, golden loaf ideal for sandwiches, toast, or accompanying any meal.
- Prep Time: 20 minutes
- Cook Time: 50 minutes
- Total Time: 13 hours 10 minutes
- Yield: 1 loaf (approximately 8-10 slices) 1x
- Category: Bread
- Method: Baking
- Cuisine: American
- Diet: Vegetarian
Ingredients
Dry Ingredients
- 3 cups all-purpose flour, plus extra for dusting
- 2 teaspoons fine sea salt
- 1/2 teaspoon instant yeast
Wet Ingredients
- 1 1/2 cups lukewarm water (90-100°F)
- 4 cloves garlic, minced finely or pressed
- 2 tablespoons fresh herbs (rosemary, thyme, or combination), chopped finely
- 1 tablespoon olive oil, for coating
Instructions
- Mix Dry Ingredients: In a large mixing bowl, whisk together the flour, sea salt, and instant yeast. Add the minced garlic and chopped fresh herbs, stirring them evenly throughout the dry mixture to distribute the flavors.
- Add Water and Form Dough: Pour in the lukewarm water and stir using a wooden spoon until all the dry flour is incorporated and no dry spots remain. The dough will be sticky and rough in texture, which is normal for this recipe.
- First Rise: Cover the bowl tightly with plastic wrap or a damp towel and let the dough rise at room temperature for 12 to 18 hours. During this time, the dough should double in size and become bubbly, indicating fermentation.
- Shape the Dough: Generously flour a clean work surface and your hands to prevent sticking. Gently scrape the risen dough onto the surface and fold the edges towards the center to form a rough round shape.
- Second Rise: Transfer the shaped dough onto a piece of oiled parchment paper. Cover it loosely with a towel and let it rest for 45 minutes to 1 hour. This allows the dough to relax and puff up slightly.
- Preheat Dutch Oven: Place your Dutch oven with its lid inside the oven and preheat to 450°F (230°C) for 30 minutes. Preheating ensures the Dutch oven is hot enough to create a perfect crust.
- Bake the Bread: Carefully remove the hot Dutch oven from the oven. Using the parchment paper as a sling, lower the dough into the pot. Using a sharp knife, score the top of the dough to allow it to expand during baking.
- Initial Baking: Cover the Dutch oven with its lid and bake the bread for 30 minutes. The lid traps steam, creating a crispy crust and tender crumb.
- Finish Baking Uncovered: Remove the lid and continue baking the bread uncovered for an additional 15 to 20 minutes until the crust turns deep golden brown and crisp.
- Cool the Bread: Remove the bread from the Dutch oven, transfer it to a wire rack, and allow it to cool completely for at least 30 minutes before slicing. Cooling helps the crumb set properly and prevents gummy texture.
Notes
- Ensure the water is lukewarm (90-100°F) so it activates the yeast without killing it.
- The long fermentation time (12-18 hours) greatly improves flavor and texture—don’t rush this step.
- You can use any fresh herbs you prefer; rosemary and thyme are classic choices that pair well with garlic.
- Be careful handling the hot Dutch oven; use oven mitts to avoid burns.
- Allow the bread to cool thoroughly before slicing to maintain a great crumb structure.
- This recipe requires no kneading, making it beginner-friendly and low-effort.
Keywords: Garlic herb bread, Dutch oven bread, artisan bread recipe, no-knead bread, homemade bread, herb bread, crusty bread