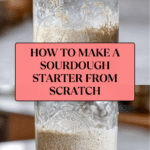
How to Make a Classic Sourdough Starter from Scratch Recipe
Introduction
Creating your own sourdough starter at home is a rewarding process that brings natural fermentation to your baking. With just flour and water, you can cultivate wild yeast to make delicious sourdough bread and other baked goods.
Ingredients
- ½ cup whole wheat or unbleached all-purpose flour
- ¼ to ⅓ cup water, ideally at 75°F
- 1 glass jar or bowl (about 32 ounces)
- 1 paper towel
- 1 rubber band
Instructions
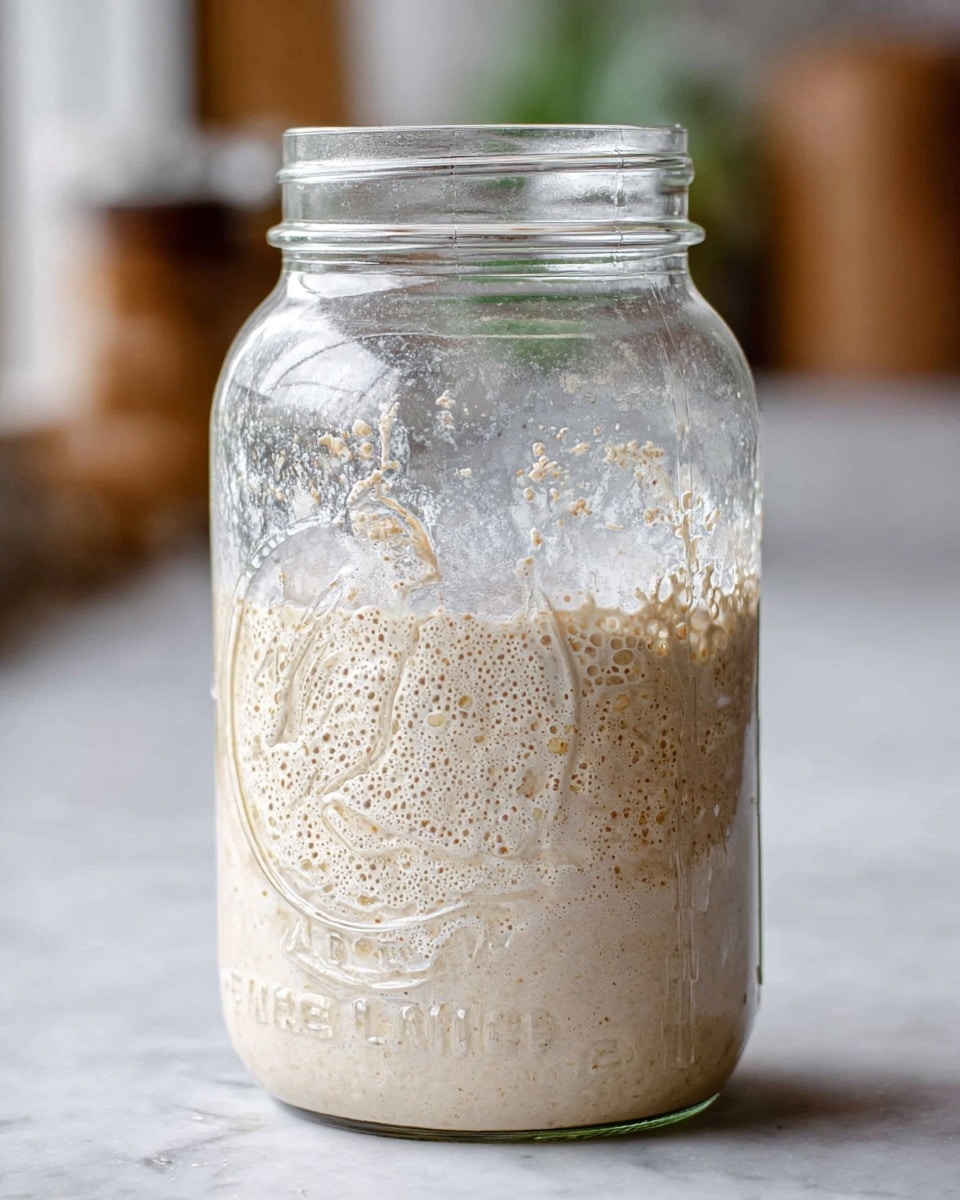
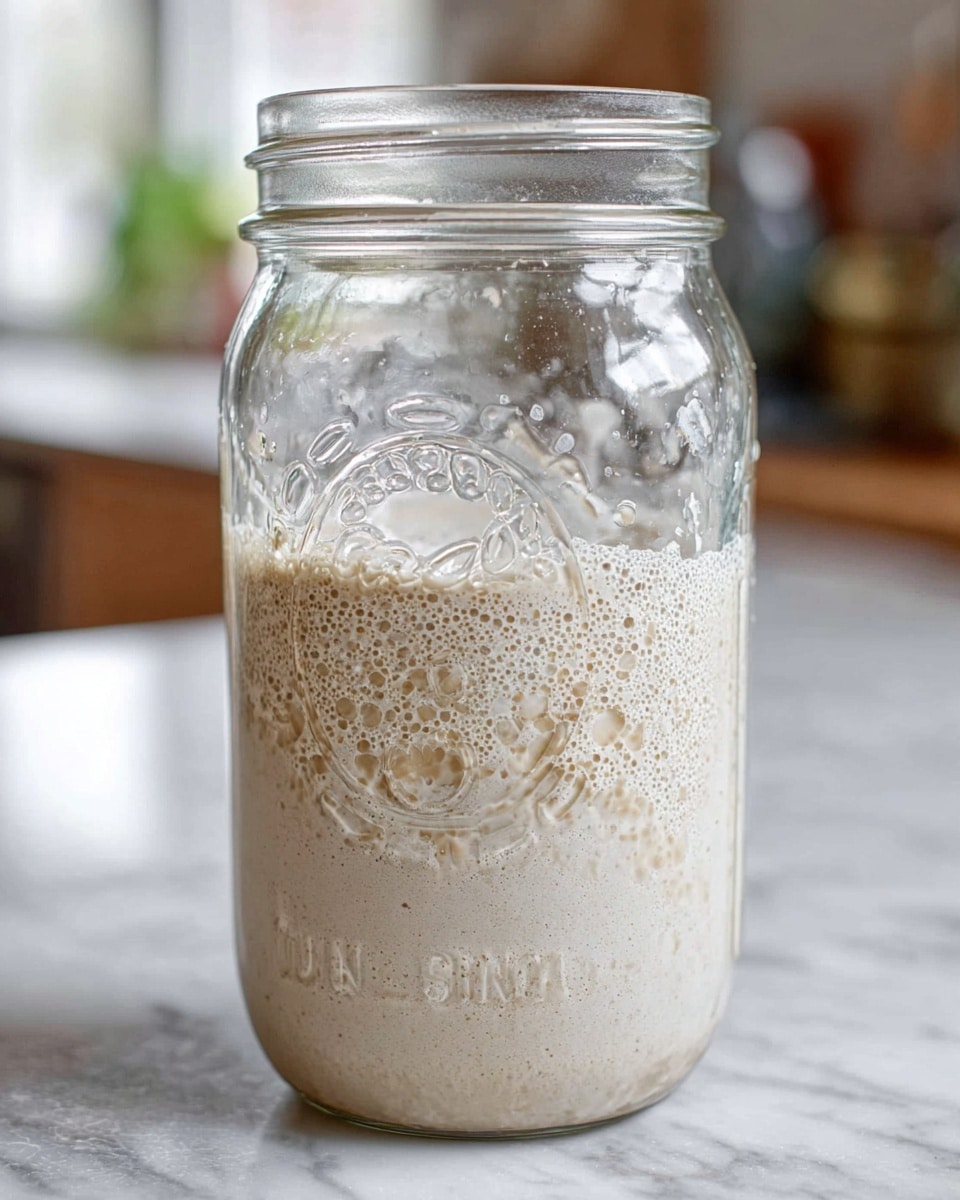
- Step 1: Combine ½ cup whole wheat flour with ¼ cup water in the jar. If the mixture is too thick, add up to ¼ cup more water until it reaches a pancake batter consistency. Let it rest for 30 minutes, then stir with a wooden spoon.
- Step 2: Cover the jar with a paper towel secured by a rubber band. Let it sit at room temperature in a warm spot for 24 hours.
- Step 3: After 24 hours, check for bubbles. If bubbles appear, add ½ cup all-purpose flour and ¼ to ⅓ cup water, stir, and cover again. If no bubbles, stir and let sit another 24 hours.
- Step 4: On the second feeding, if bubbles are visible, discard half the starter, then add ½ cup all-purpose flour and ¼ to ⅓ cup water. Stir well and cover, letting it sit for 24 hours.
- Step 5: For the third feeding, again discard half the starter, then feed with ½ cup all-purpose flour and ¼ cup water. Stir thoroughly and let it rest for 24 hours.
- Step 6: On days 4 through 6, feed the starter twice a day if you plan to use it soon. Continue feeding until the starter consistently bubbles and doubles in size within 8 hours after feeding.
- Step 7: Once active, store the starter in the refrigerator and feed about once a week. When ready to bake, remove it 24 hours before use to feed and allow it to warm up.
Tips & Variations
- Use unchlorinated water to avoid inhibiting yeast growth.
- If your kitchen is cool, find a warm spot near appliances or inside a turned-off oven with the light on to encourage fermentation.
- Whole wheat flour jumpstarts fermentation better, but switching to all-purpose flour after initial days is common.
- Use a wooden or plastic spoon to stir; metal can react with the starter.
Storage
Keep your sourdough starter in the refrigerator once mature, feeding it approximately once per week. For active use, take it out a day in advance, feed it, and allow it to sit at room temperature for it to become bubbly and robust again. Discard any starter that develops an off smell or pinkish tint.
How to Serve
Serve this delicious recipe with your favorite sides.
FAQs
How do I know when my starter is ready to use?
Your starter is ready when it consistently bubbles, doubles in size within 8 hours after feeding, and has a pleasant tangy aroma. This usually happens around day 5 to 7.
What if I don’t see any bubbles after several days?
Make sure the environment is warm enough and the water is at an ideal temperature (around 75°F). Stirring the starter daily and using fresh flour can also help jumpstart fermentation. If no bubbles appear after 7 days, consider starting over.
PrintHow to Make a Classic Sourdough Starter from Scratch Recipe
A detailed guide to creating and maintaining a sourdough starter from scratch using simple ingredients and step-by-step feedings to cultivate wild yeast for baking delicious sourdough bread.
- Prep Time: 10 minutes
- Cook Time: 0 minutes
- Total Time: 6 days (including multiple 24-hour resting periods)
- Yield: Approximately 1 cup active sourdough starter 1x
- Category: Starter
- Method: No-Cook
- Cuisine: American Artisan
- Diet: Vegan
Ingredients
Starter Ingredients
- ½ cup whole wheat flour or unbleached all-purpose flour
- ¼ to ⅓ cup water, ideally 75°F
Tools
- 1 glass jar or bowl (about 32 ounces)
- 1 paper towel
- 1 rubber band
Instructions
- Initial Mix: In a clean glass jar, combine ½ cup whole wheat or unbleached all-purpose flour with ¼ cup of water. Stir until the mixture resembles a pancake batter consistency; add up to an additional ¼ cup flour if needed. Cover the jar with a paper towel secured by a rubber band and let it rest for 30 minutes at room temperature.
- First Feeding: After resting, stir the mixture thoroughly. Cover again with the paper towel and rubber band. Let it sit at room temperature in a warm spot for 24 hours. After 24 hours, look for bubbles. If bubbles are present, feed the starter by adding ½ cup all-purpose flour and ¼ to ⅓ cup water. If no bubbles appear, stir the starter and wait another 24 hours before feeding.
- Second Feeding: Check for bubbles again. If bubbles are visible, discard half of the starter, feed with ½ cup all-purpose flour and ¼ to ⅓ cup water, stirring well. Allow it to sit for 24 hours.
- Third Feeding: Again, discard half of the starter. Feed with ½ cup all-purpose flour and ¼ cup water. Stir thoroughly and let it rest for 24 hours.
- Additional Feedings: From days 4 to 6, you may choose to feed the starter twice daily if you plan to use it soon. Continue this routine until the starter consistently bubbles and doubles in size within 8 hours of feeding.
- Maintenance: Once established, store the starter in the refrigerator and feed it about once a week. To reactivate for baking, remove from the refrigerator 24 hours prior to use, feed it, and allow it to come to room temperature to encourage growth.
Notes
- Use unbleached flour for best fermentation results.
- Maintain a warm environment around 75°F to encourage yeast activity.
- Discarding half the starter during feedings prevents overgrowth and maintains balance.
- Hydration consistency is key; aim for pancake batter thickness.
- Refrigerate the starter for slow fermentation when not baking frequently.
- Always use clean utensils to avoid contamination.
Keywords: sourdough starter, homemade starter, sourdough starter recipe, wild yeast starter, bread starter, fermentation, natural leavening