Irresistible Chocolate Cakesicles That Wow Every Time Recipe
Introduction
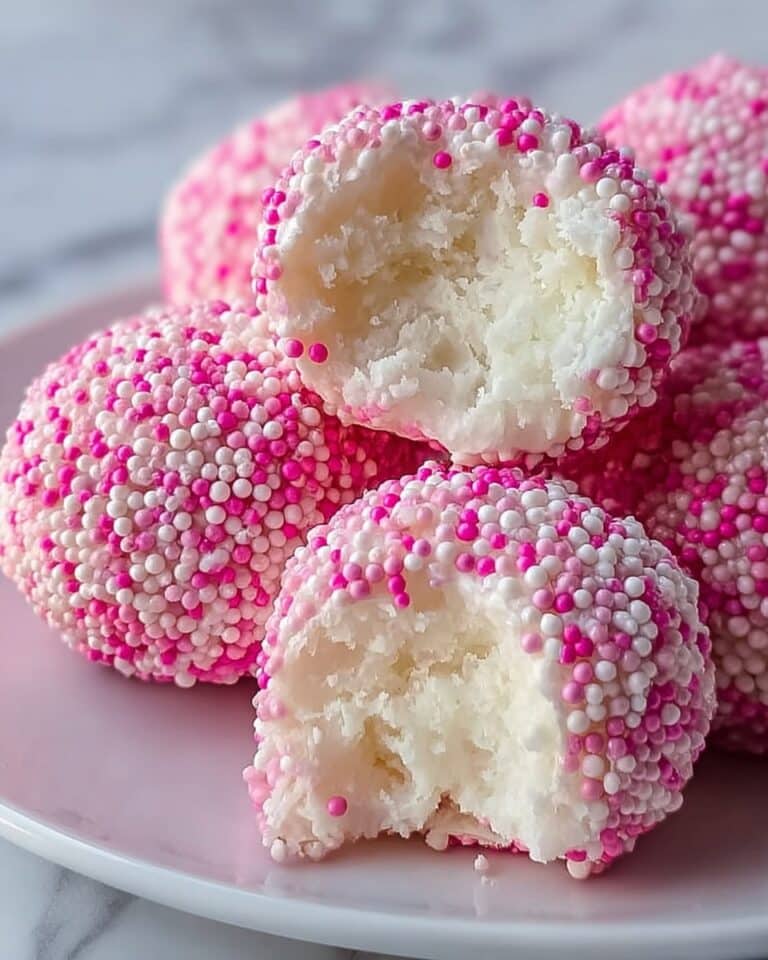
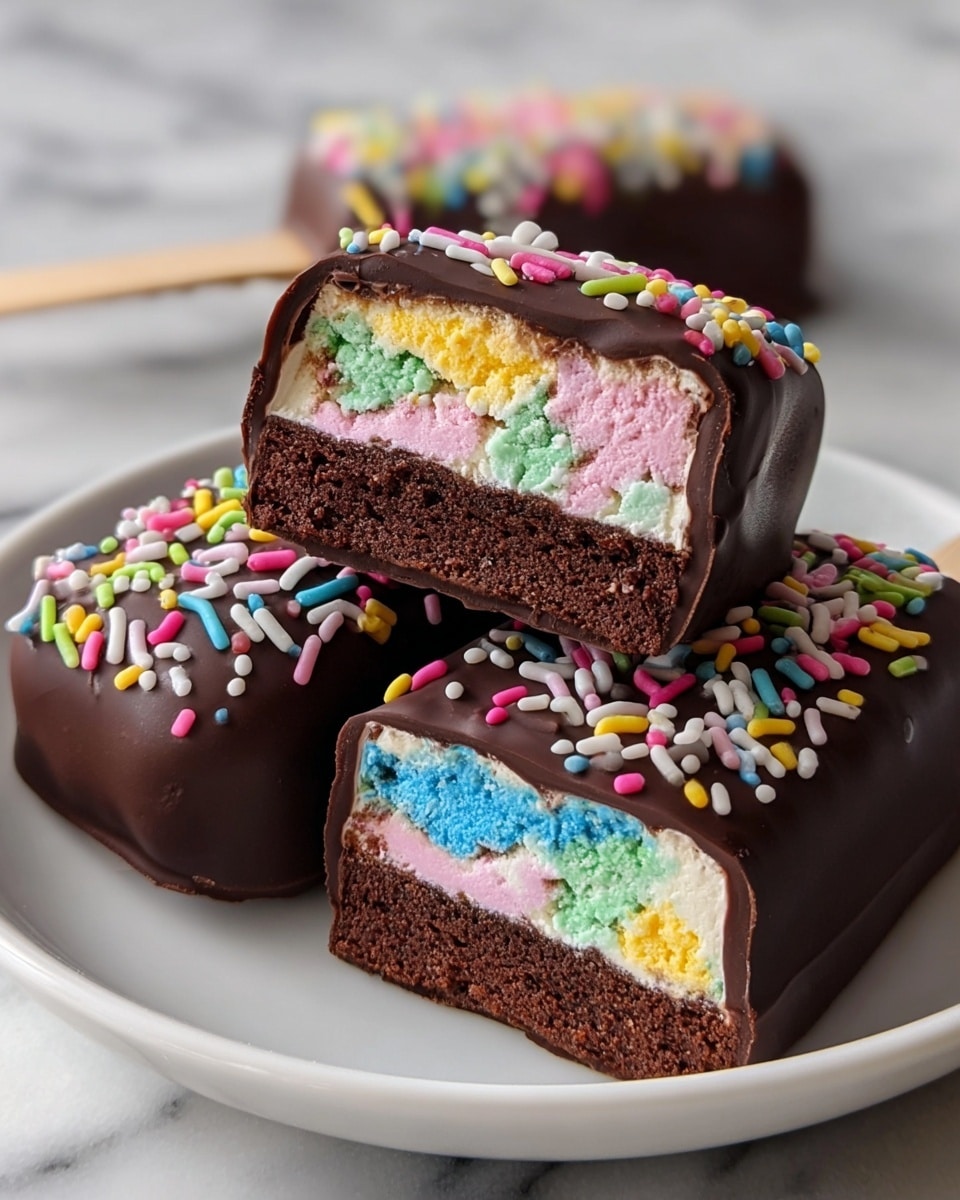
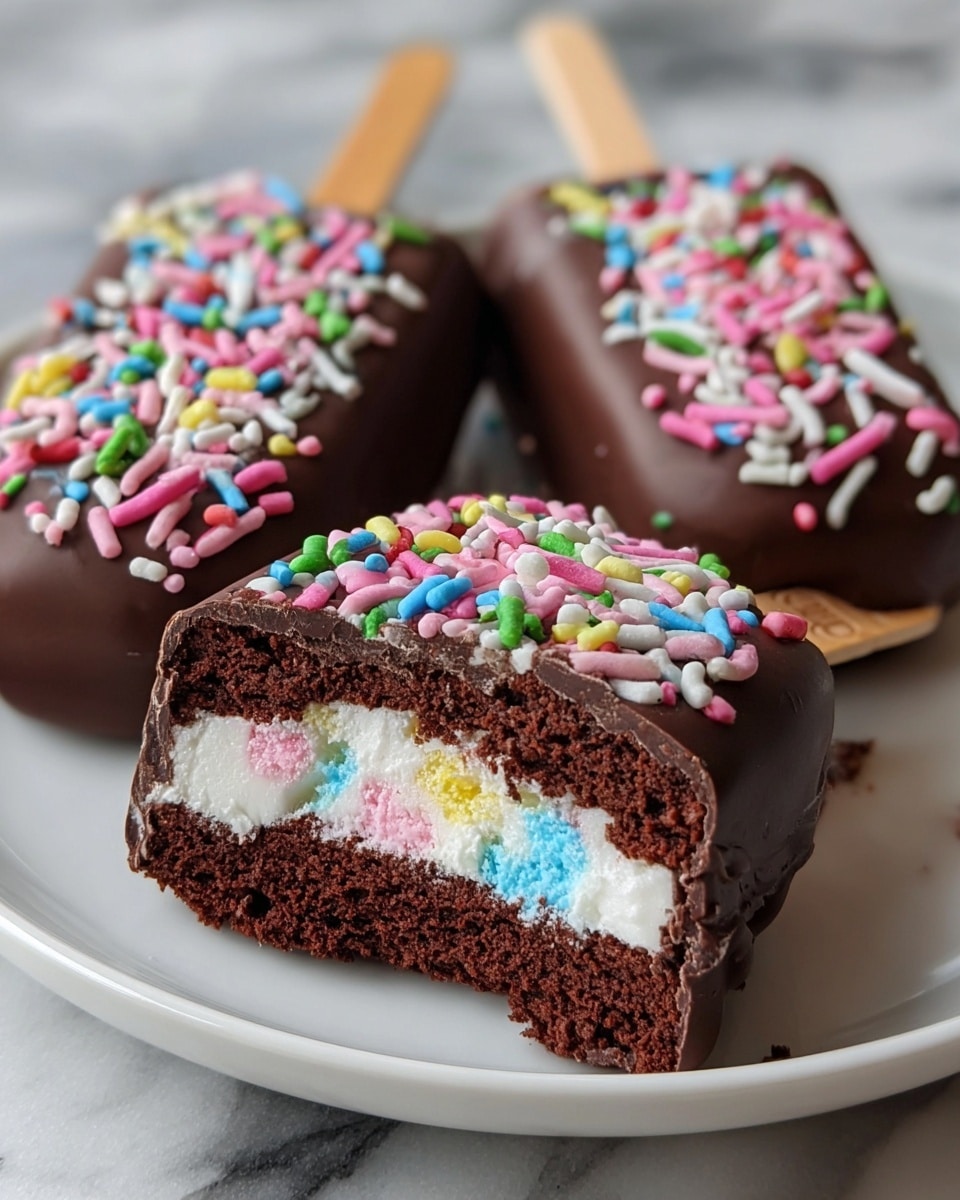
These irresistible chocolate cakesicles are a fun and delicious treat that impress every time. Combining moist chocolate cake with a smooth coating and festive sprinkles, they’re perfect for celebrations or anytime you want a sweet bite-sized dessert.
Ingredients
- 1 box chocolate cake mix (plus ingredients listed on the box)
- 1 cup vanilla frosting
- Rainbow sprinkles (New Year’s style)
- 12–15 popsicle sticks
- 16 oz milk or dark chocolate (melting wafers or chocolate chips)
- Optional: white cake crumbs for the center surprise
Instructions
- Step 1: Bake the chocolate cake according to package directions. Let it cool completely, then crumble it into fine crumbs.
- Step 2: Mix the cake crumbs with vanilla frosting until it forms a dough-like texture.
- Step 3: Press the cake mixture firmly into cakesicle molds. If desired, add a small amount of white cake crumbs in the center for a surprise. Insert popsicle sticks into each.
- Step 4: Freeze the cakesicles for 30 minutes to firm up.
- Step 5: Melt the chocolate until smooth. Dip each frozen cakesicle into the chocolate coating.
- Step 6: Immediately decorate with rainbow sprinkles before the chocolate sets.
- Step 7: Allow the chocolate to harden before serving.
Tips & Variations
- Use high-quality chocolate for a richer, smoother coating.
- Freezing the cakesicles before dipping ensures a smooth and even chocolate layer.
- Customize your cakesicles with different sprinkles to match any occasion or theme.
- For extra flavor, try mixing in a teaspoon of espresso powder to the cake crumbs before adding frosting.
Storage
Store cakesicles in an airtight container in the refrigerator for up to 5 days. For longer storage, freeze them wrapped individually in plastic wrap and then placed in a sealed bag for up to 2 months. To enjoy, thaw briefly at room temperature before serving. Re-coating with melted chocolate is optional if decorations have softened.
How to Serve
Serve this delicious recipe with your favorite sides.
FAQs
Can I use homemade cake instead of boxed mix?
Absolutely! Homemade chocolate cake works just as well. Just make sure it’s fully cooled before crumbling to mix with the frosting.
What’s the best chocolate for dipping?
Melting wafers or high-quality chocolate chips melt smoothly and give a nice glossy finish. Milk or dark chocolate both work well depending on your preference.
PrintIrresistible Chocolate Cakesicles That Wow Every Time Recipe

These irresistible chocolate cakesicles combine moist chocolate cake and creamy vanilla frosting, dipped in smooth melted chocolate and decorated with festive rainbow sprinkles. Perfectly portioned as fun, bite-sized treats, they’re a delightful dessert sure to impress at any celebration.
- Prep Time: 20 minutes
- Cook Time: 30 minutes
- Total Time: 1 hour 20 minutes
- Yield: 12–15 cakesicles 1x
- Category: Dessert
- Method: Freezing and Dipping
- Cuisine: American
- Diet: Vegetarian
Ingredients
Cake Mixture
- 1 box chocolate cake mix (plus ingredients listed on the box)
- 1 cup vanilla frosting
- Optional: white cake crumbs for the center surprise
Toppings and Coating
- Rainbow sprinkles (New Year’s style)
- 12–15 popsicle sticks
- 16 oz milk or dark chocolate (melting wafers or chocolate chips)
Instructions
- Bake the Cake: Prepare the chocolate cake according to the package directions, including all required ingredients. Once baked, allow the cake to cool completely to room temperature.
- Crumble the Cake: Break the cooled cake into fine crumbs using your hands or a food processor for a uniform texture.
- Mix with Frosting: Combine the cake crumbs with the vanilla frosting until the mixture forms a dough-like consistency that holds together when pressed.
- Shape in Molds: Firmly press the cake and frosting mixture into cakesicle molds. Insert a popsicle stick into each mold, ensuring it is secure and centered.
- Freeze the Cakesicles: Place the filled molds in the freezer for at least 30 minutes to solidify the cakesicles, making them easier to coat.
- Melt the Chocolate: Gently melt the milk or dark chocolate wafers or chips until smooth, either in a microwave-safe bowl with 20-30 second intervals stirring in between or using a double boiler on the stovetop.
- Coat the Cakesicles: Remove the frozen cakesicles from the molds and dip each one into the melted chocolate, ensuring they are fully coated.
- Add Sprinkles: Immediately sprinkle the rainbow sprinkles onto the chocolate coating before it sets to decorate and add texture.
- Set the Chocolate: Place the coated cakesicles upright on parchment paper and allow the chocolate to harden completely, either at room temperature or in the refrigerator for faster setting.
Notes
- Use high-quality chocolate for a smoother and richer coating.
- Freezing the cakesicles before dipping ensures the chocolate hardens evenly and prevents melting.
- Customize the sprinkles to match different themes or holidays for personalized treats.
- For the surprise center, gently press a small ball of white cake crumbs inside the chocolate cake mixture before freezing.
Keywords: chocolate cakesicles, chocolate cake pops, festive desserts, easy cakesicle recipe, holiday treats, chocolate dipped cakesicles