Rustic Italian Crusty Bread Recipe
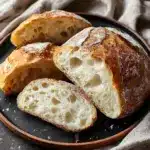
If there’s one bread that instantly transports you to a cozy Italian kitchen, it’s this Rustic Italian Crusty Bread. With its golden, crackly crust and soft, airy interior, this bread is the perfect companion to everything from hearty soups to simple olive oil dips. Making Rustic Italian Crusty Bread at home may sound like a labor of love, but with a handful of everyday ingredients and a little patience, you’ll craft a loaf that’s rustic, authentic, and endlessly satisfying.
Ingredients You’ll Need
This Rustic Italian Crusty Bread recipe uses simple, timeless ingredients that come together beautifully to create amazing taste, texture, and that irresistible color. Each component plays a key role, whether to feed the yeast or build that perfect crust.
- 3 1/2 cups all-purpose or bread flour: Foundation of the loaf, providing structure and chewiness.
- 1 1/2 tsp salt: Enhances flavor while helping control yeast activity.
- 1 tsp sugar: Gives the yeast some fuel to start the fermentation process with a little sweetness.
- 1 packet (2 1/4 tsp) instant yeast: The magic behind the rise and airy texture.
- 1 1/4 cups warm water (110°F to 115°F): Activates the yeast and hydrates the flour for the perfect dough consistency.
How to Make Rustic Italian Crusty Bread
Step 1: Activate the Yeast
Start by combining warm water, sugar, and yeast in a small bowl. Letting this mixture sit and foam for 5 to 10 minutes is crucial. You want to make sure your yeast is alive and kicking. That bubbly foam is your green light that the yeast is ready to work its magic.
Step 2: Mix the Dough
Next, mix flour and salt in a large bowl. Slowly pour in your foamy yeast mixture, stirring with a wooden spoon until a rough, shaggy dough forms. It might look a bit unkempt at this stage, but trust me, that’s exactly how rustic Italian crusty bread dough should initially appear.
Step 3: Knead the Dough
Turn your dough out onto a lightly floured surface and knead for 8 to 10 minutes. Alternatively, a stand mixer with a dough hook attachment can cut this down to about 5 to 6 minutes. Your goal here is a smooth, elastic dough — this is where gluten develops and gives your bread that satisfying chew.
Step 4: First Rise
Place your dough in a lightly oiled bowl and cover it with a kitchen towel. Set it somewhere warm to rise for 1 to 2 hours or until it has doubled in size. This slow fermentation builds flavor and helps create that rustic texture we’re after.
Step 5: Shape the Loaf
Gently punch down the dough and shape it into a round loaf. Place it on a piece of parchment paper — this will make transferring your bread to the oven a breeze. Shaping the loaf with care ensures an even rise and beautiful final form.
Step 6: Second Rise
Cover the loaf with a towel once again and let it rise for about 30 to 45 minutes. Meanwhile, preheat your oven to 450°F with a Dutch oven or baking stone inside. These preheated surfaces are key to achieving that crunchy, golden crust.
Step 7: Bake the Bread
Carefully slide your dough, still on the parchment, into the hot Dutch oven and cover it. Bake covered for 30 minutes, then remove the lid and bake for another 10 to 15 minutes to get the crust beautifully browned and crackly. The steaming effect trapped inside the Dutch oven helps develop that signature rustic crust we adore.
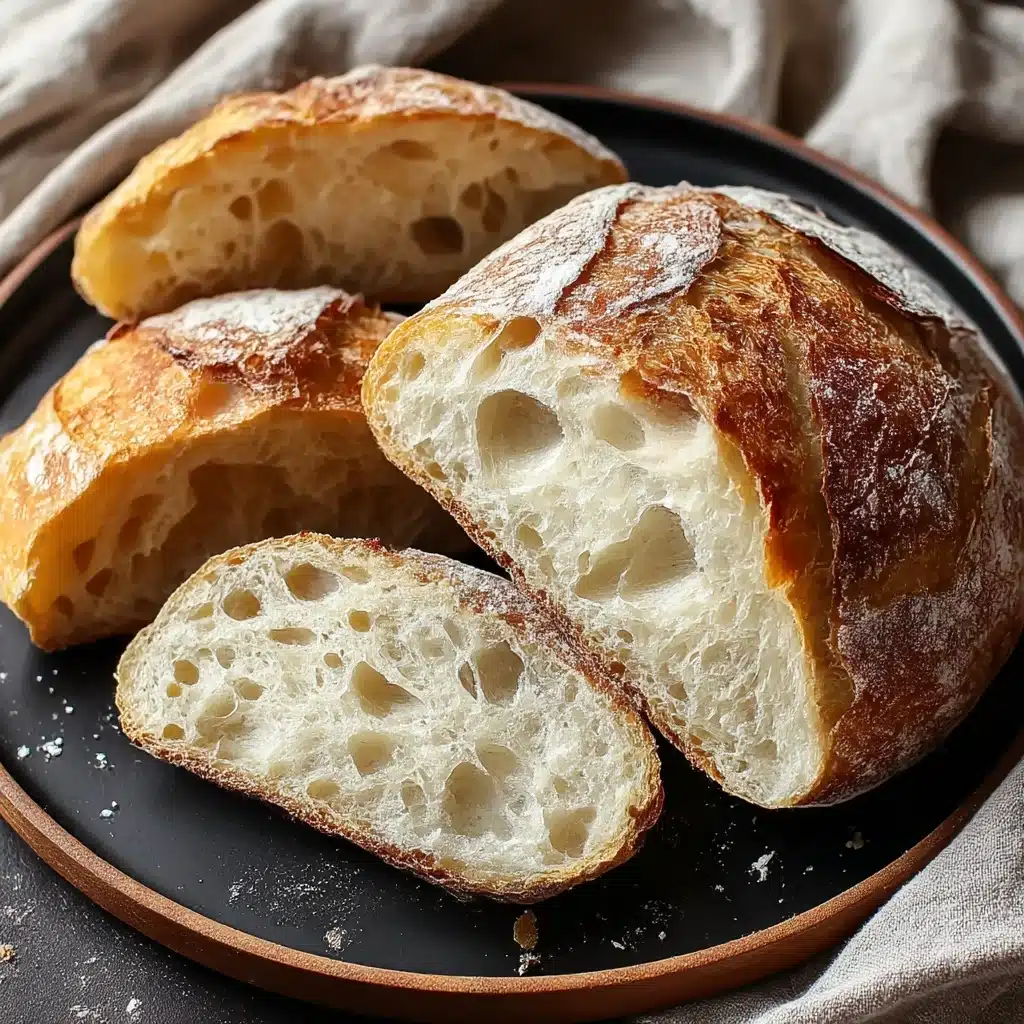
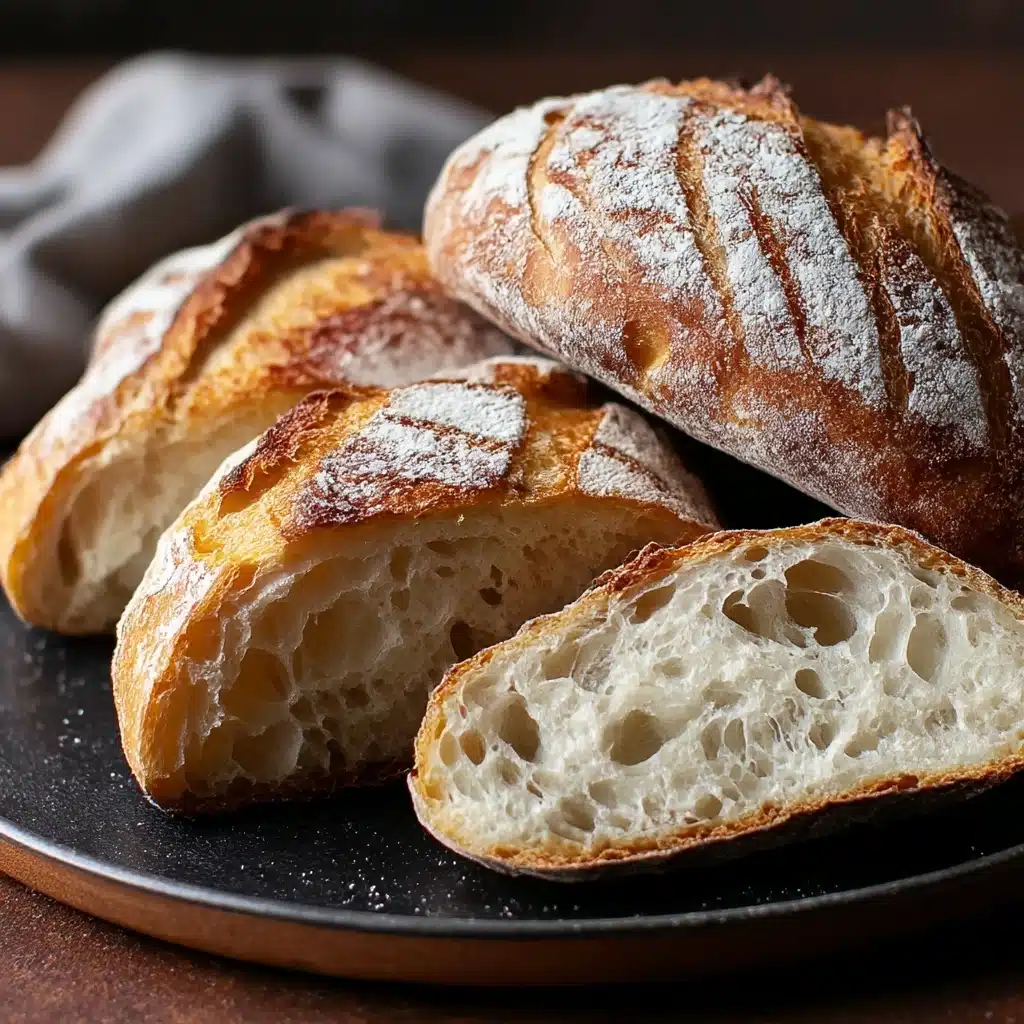
Step 8: Cool and Serve
Once your bread is baked to perfection, transfer it onto a cooling rack. Letting it cool completely before slicing ensures the interior sets properly, giving you those perfect soft pockets contrasting the crust. Then, the moment you’ve been waiting for — slice up your Rustic Italian Crusty Bread and enjoy!
How to Serve Rustic Italian Crusty Bread
Garnishes
While rustic bread is incredible on its own, pairing it with fresh herbs like rosemary or a sprinkle of flaky sea salt can add an extra layer of flavor. Rubbing the crust with a cut garlic clove or drizzling a little high-quality olive oil over warm slices are simple touches that elevate every bite.
Side Dishes
This bread shines alongside Italian classics such as creamy tomato basil soup, rich minestrone, or a zesty caprese salad. It’s also the perfect vehicle for dipping into balsamic vinegar and olive oil, or spreading with tangy ricotta and sun-dried tomatoes for a quick snack or appetizer.
Creative Ways to Present
Serve your Rustic Italian Crusty Bread as part of a beautiful cheese and charcuterie board for a casual gathering, or slice it thick and use it as a base for bruschetta piled high with fresh tomatoes and basil. Toasted and topped with warm melted mozzarella turns it into a rustic pizza base that’s both fun and unexpectedly gourmet.
Make Ahead and Storage
Storing Leftovers
To keep your bread fresh, store it at room temperature wrapped loosely in a clean kitchen towel and placed inside a paper bag. This helps maintain some moisture while preserving that crisp crust. Avoid plastic wrap as it can make the crust soggy.
Freezing
If you want to freeze your Rustic Italian Crusty Bread, wrap it tightly in plastic wrap followed by aluminum foil. It will keep well for up to 3 months. When ready to enjoy, thaw at room temperature for a few hours before reheating.
Reheating
To revive that crispy crust, preheat your oven to 350°F and warm your bread directly on the rack for 10 to 15 minutes. This little trick refreshes the loaf as if it had just come out of the oven, making leftovers almost as delicious as freshly baked.
FAQs
Can I use whole wheat flour for Rustic Italian Crusty Bread?
Absolutely! Using whole wheat flour adds a lovely nutty flavor and extra nutrition, but keep in mind it can make the bread denser. Try replacing up to half the all-purpose flour with whole wheat for the best texture.
Do I have to use a Dutch oven to bake this bread?
A Dutch oven traps steam beautifully, giving the crust its signature crunch. If you don’t have one, baking on a preheated baking stone or an inverted baking sheet with a pan of water for steam can work well too.
Why is my bread not rising as expected?
Common reasons include water that’s too hot or cold killing the yeast, old yeast that’s lost its potency, or rising in a drafty or cold spot. Make sure your yeast is fresh, water temperature is just right, and the dough is covered well in a warm environment.
Can I add herbs or olives to this bread dough?
Definitely! Adding fresh herbs like rosemary or thyme, or even chopped olives, can introduce delightful bursts of flavor. Fold them in at the end of kneading to evenly distribute without overworking the dough.
How long will this Rustic Italian Crusty Bread stay fresh?
At room temperature, best enjoyed within 2 days to appreciate the crust and crumb. With proper storage, it can stay enjoyable up to 4 days, but reheating will bring back some of its original charm.
Final Thoughts
Baking Rustic Italian Crusty Bread at home is a joyful experience that fills your kitchen with warm, comforting aromas and rewards you with a loaf bursting with flavor and character. Whether you’re sharing it with family or enjoying it alone with a drizzle of olive oil, this bread brings a touch of Italy’s heart straight to your table. I encourage you to give it a try — your taste buds will thank you!
PrintRustic Italian Crusty Bread Recipe
This Rustic Italian Crusty Bread recipe features a golden, crispy crust with a soft and airy interior, perfect for sandwiches or dipping in olive oil. Using simple pantry staples like flour, yeast, and salt, this homemade bread is an authentic Italian classic that requires minimal ingredients but delivers maximum flavor and texture.
- Prep Time: 15 minutes
- Cook Time: 40-45 minutes
- Total Time: 2 hours 15 minutes to 2 hours 30 minutes
- Yield: 1 loaf (about 8–10 servings) 1x
- Category: Bread
- Method: Baking
- Cuisine: Italian
- Diet: Vegetarian
Ingredients
Dry Ingredients
- 3 1/2 cups all-purpose or bread flour
- 1 1/2 tsp salt
- 1 tsp sugar
- 1 packet (2 1/4 tsp) instant yeast
Wet Ingredients
- 1 1/4 cups warm water (110°F to 115°F)
Instructions
- Activate the Yeast: In a small bowl, combine the warm water, sugar, and yeast. Let it sit for 5–10 minutes until it becomes foamy, indicating the yeast is active and ready to leaven the dough.
- Mix the Dough: In a large mixing bowl, combine the flour and salt. Pour in the yeast mixture and stir with a wooden spoon until a shaggy dough forms, ensuring all ingredients are roughly incorporated.
- Knead the Dough: Turn the dough onto a lightly floured surface and knead by hand for 8–10 minutes until smooth and elastic. Alternatively, use a stand mixer with a dough hook attachment to knead for 5–6 minutes, developing gluten for elasticity.
- First Rise: Place the kneaded dough into a lightly oiled bowl, cover it with a clean kitchen towel, and let it rise in a warm place for 1–2 hours, or until it doubles in size, allowing fermentation and flavor development.
- Shape the Loaf: Punch down the risen dough to release air, then shape it into a round loaf. Place the shaped loaf onto a piece of parchment paper for easy transfer.
- Second Rise: Cover the shaped dough with a kitchen towel and let it rise again for 30–45 minutes. During this time, preheat your oven to 450°F with a Dutch oven or baking stone inside to ensure a hot baking environment.
- Bake the Bread: Carefully transfer the dough on the parchment paper into the preheated Dutch oven. Cover with the lid and bake for 30 minutes to trap steam and develop a crispy crust. Remove the lid and bake for an additional 10–15 minutes until the crust turns a deep golden brown.
- Cool and Serve: Remove the bread from the oven and transfer it to a wire cooling rack. Let it cool completely before slicing to set the crumb and prevent a gummy texture.
Notes
- Use a kitchen thermometer to ensure your water is between 110°F and 115°F for optimal yeast activation.
- For a crispier crust, bake the bread in a preheated Dutch oven or on a baking stone to create steam.
- Allow the bread to cool fully before slicing to preserve the texture and crumb structure.
- This bread freezes well; slice before freezing for convenient use.
- Substitute bread flour for all-purpose flour for a chewier texture and better rise.
Nutrition
- Serving Size: 1 slice (approx. 1/10 of loaf)
- Calories: 160
- Sugar: 1.2g
- Sodium: 280mg
- Fat: 1g
- Saturated Fat: 0.2g
- Unsaturated Fat: 0.6g
- Trans Fat: 0g
- Carbohydrates: 32g
- Fiber: 1.5g
- Protein: 5g
- Cholesterol: 0mg
Keywords: rustic bread, Italian bread, crusty bread, homemade bread, artisan bread, yeast bread, rustic loaf